
So, I’ve had the privilige of using a pre-production sample of one of this year’s most eagerly anticipated cameras for a couple of weeks. You could already read about that in this blog post. By now, your RSS feed and Facebook status page is probably overloaded with features, comparisons, opinions and what not. The following thoughts are not solely based on specs, but on actual usage of the camera. Given the four year gap between the X-Pro 2 and its predecessor, there’s bound to be a lot of change. In this and the following blog post, I’ll try to outline my personal top-10 improvements of this camera, taking into account the way I use it: as my everday camera, with a focus on travel- and flash photography.

Evolution on the outside...
When I got the camera, it felt like reconnecting with an old friend: it looks almost identical to the X-Pro 1 (which I consider a good thing), especially from the front. In fact, I could probably have taken this camera to a Fuji workshop and people would have thought I was shooting my old trusted X-Pro 1. Outside, there are only a couple of changes, and they're all for the better.

Seen from the front, not a lot has changed: the EVF/OVF lever now not only lets you switch from OVF to EVF, but also between the two OVF modes that we now know from the X100T. Another barely visible - but interesting - new feature is the addition of a front command dial. Image © Fujifilm Corporation.
... revolution within
But on closer inspection, a lot has actually changed for the better. Which brings me to the first point.
1) Improved ergonomics
This one’s so important that I’ve actually put it before the ‘obvious’ advantage (the higher megapixel count, more about that later). The first thing you’ll notice is the joystick on the camera’s back: it has a number of uses but its main use is changing the AF point. The advantage is that this frees up the four buttons surrounding the Menu/OK button. You can now actually program three of them to a custom function. If you like to change your focus points as I do, the joystick works really well, it just takes some getting used to and retraining your muscle memory not to go to the old position. On top of that, there’s 2 more function buttons, bringing the total to 5. There is no dedicated WIFI function button, but WIFI is obviously included, and another big difference with the original X-Pro 1.

Apparently small changes but ergonomically big ones: all buttons are now on the right hand side, enabling true single-handed operation. There's a new joystick-like control that - amongst other things - lets you select your focus point. Image © Fujifilm Corporation.
- One thing I did not like about the X-Pro 1 was that there were some buttons on the left of the LCD. All buttons are now at the right, meaning you can control this camera with just one hand. For you, it might be sipping cocktails, but in my case it leaves the other hand free to hold a flash and an umbrella, for example.
- The grip is slightly bigger and more pronounced. As a result, the camera feels better in your hand. And as mentioned, this is now a camera that you can completely control with one hand! Great news for photographers who like to smoke on a shoot. No more cigarette breaks needed: smoke and shoot as you go!
- There’s also a new Front Command Dial which in playback mode lets you browse flick back and forth through your images (the rear one zooms in and out). While shooting, the FCD lets you adjust the shutter speed to the intermediary settings between the full stops that are marked on the dial. It probably does some other things too, but I haven’t discovered those yet. The manual was even more preproduction than the camera (in other words, non-existent!)

Those clever Fujifilm engineers incorporated the ISO dial into the Shutter Speed dial. To change your ISO, pull up the outside of the dial and rotate it. The EV-compensiation wheel now has a -3 to +3 range and by setting it to the C-position, you can even go from -5 to +5 by turning the new Front Command Dial. Image © Fujifilm Corporation.
- Speaking of dials. Probably the coolest feature is how Fujifilm managed to integrate the ISO dial on the top of the camera. It’s literally on the shutter speed dial: you have to pull the outer ring of the shutter speed dial up and then rotate it to set the ISO. The first couple of times, you’ll probably inadvertently change the shutter speed itself, too, but once you get used to it, it works very well. While turning the wheel, you can see the value adjust in the viewfinder. So no need to take your eye off the viewfinder. Now, in honesty, I liked the old system with the top function button, too but this system has the advantage that you can also see at a glance what ISO the camera is set to. And I do like this implementation more than that of the X-T1. While we’re still talking about dials: the Exposure Compensation dial now has a -3 to +3 range and even a Custom setting that allows you to go from -5 to +5, another use for the new Front Command Dial.
- And finally, another big one in the ergonomics department: a built-in diopter adjustment with the same range as the X-T1. That’s right, no more messing around with little screw-in adjustment lenses that you’re bound to loose sooner or later.
2) 24 Megapixel X-Trans CMOS III Sensor

Same APS-C sensor size but 50 percent more pixels. Image © Fujifilm Corporation.
Although I’ve printed images from my 16 MP X-T1 as large as 30 x 60 cm (12 x 24 inch) and I could easily print even larger, I welcome more pixels any time, provided they offer me the same or even higher image quality. The X-Pro 2 has got 50 percent more of them. So, you can either print prints that are 50 percent larger (in terms of surface, i.e. 22 percent longer and 22 percent taller) or you can crop 1/3 of your image away and still keep the same amount of pixels as the X-Pro 1 or the X-T1. Another nice advantage is that you can experiment some more with alternative crops, like 16:9, or square, while still retaining enough pixels to print relatively big. Especially with the best quality lenses like the 16-55 and the 50-140, the increased resolution actually shows in the image. Those two lenses really are perfect companions for the new sensor.
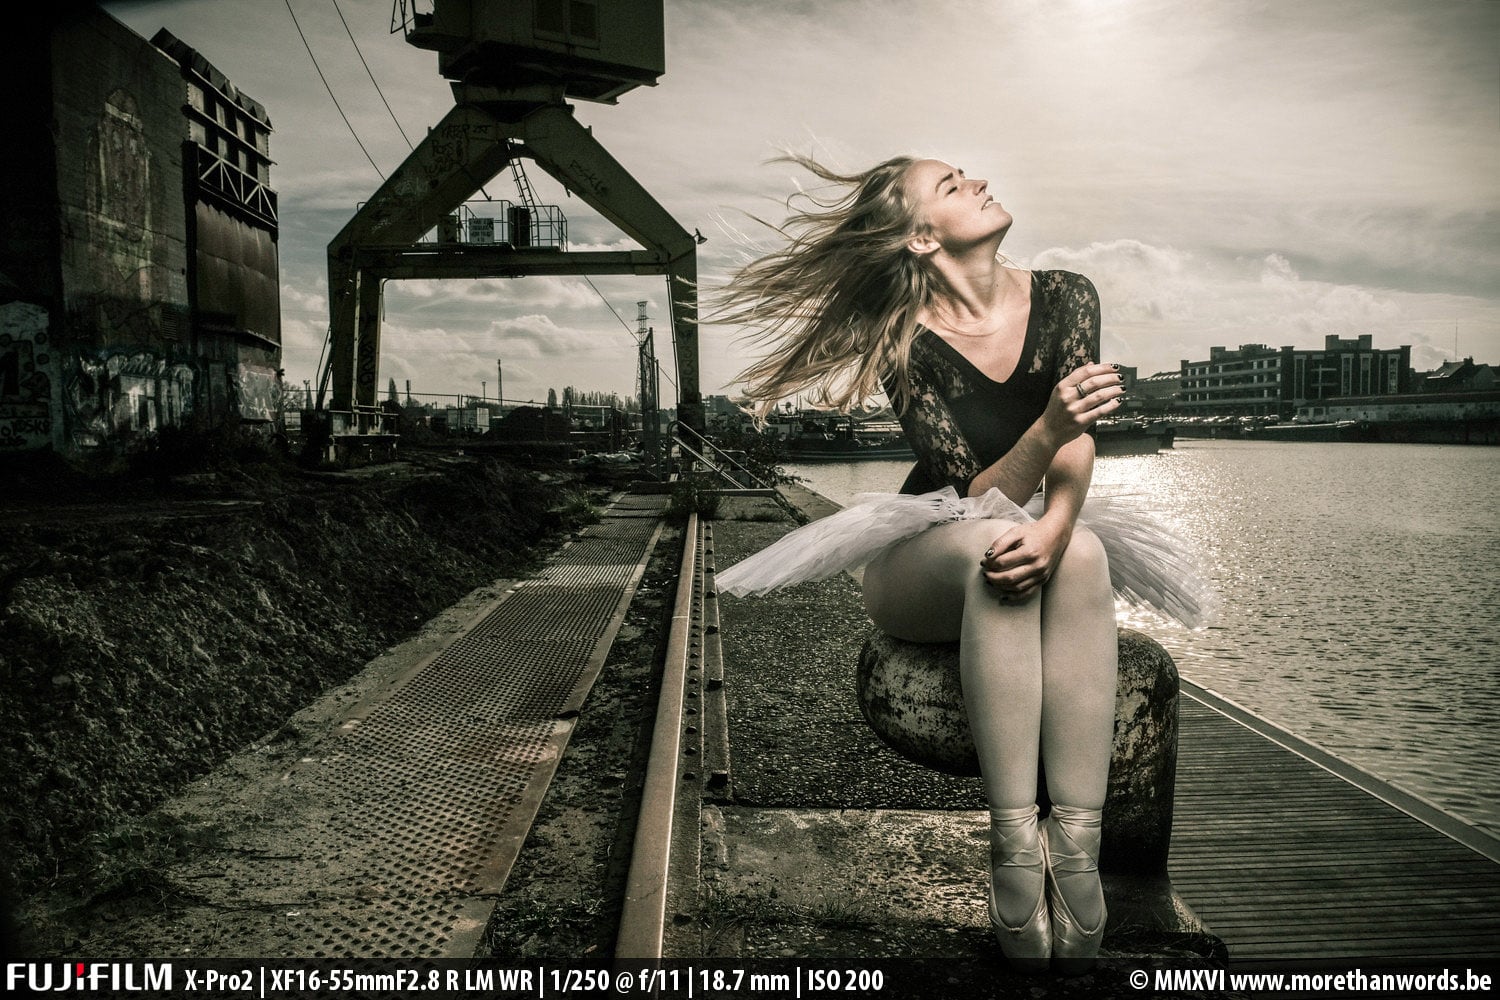
I have really come to appreciate the 16-55. Sure, it's a bit big and heavier than its prime siblings but boy, what a sharp and versatile lens! If you're an event or press photographer, it's hard not to be impressed by its sharpness. Model: Stéphanie. Image processed with my Lightroom Colorific Colour Grading presets.
3) Faster AF, more focus points and more phase detection pixels
As you might know, cameras use two techniques to achieve autofocus: phase detection and contrast detection. The first is faster, the latter is more accurate. As of the X-T1, Fujifilm has started to combine these two techniques by incorporating phase detection pixels in the sensor. The X-Pro 2 increases both the total number of focus points available and the number of phase detection pixels. By default, there’s 77 points including 49 phase detection pixels, but you can increase this to a whopping 273 points, including 169 phase detection pixels. Just be prepared to use that new joystick controller a lot. Regardless of the number of focus points, what I really appreciate on mirrorless cameras in general and those by Fuji in particular, is that you have focus points all over the frame. If you like to frame your subject off-center, that’s a very handy feature to have. With a DSLR, you’ll be forced to focus and recompose, but if you’re shooting with a shallow depth of field, that can lead to images that are out of focus.

"And how many focus points would you like today, Sir?" I don't think I'll be using the 273 focus points layout a lot...

... but I do like the fact that there are more phase detection pixels (you can recognise them by their slightly larger size in the grid...
I really cannot count the times I have sworn at my DSLR for not giving me a focus point where I needed it. With 273 points to choose from, that’s no longer necessary! Of course, the same AF enhancements that were introduced with the X-T1’s 4.0 firmware upgrade, such as wide tracking AF and zone AF are also present. I just haven’t used them much as most of my subjects are pretty stationary and if they aren’t, like the dancers I shoot, I prefer to pre-focus manually. It’s a matter of habit and preference.
4) Improved viewfinder
Take the hybrid viewfinder of the X-100T, add the resolution of the viewfinder of the X-T1, and turbocharge the framerate to 85 frames per second and you have the recipe for the X-Pro 2’s viewfinder. It’s really as state of the art as it gets. The front lever lets you switch between EVF and OVF and also between OVF modes themselves: simple OVF or OVF with the little EVF screen in the bottom right corner that was introduced with the X100T. This little screen-in-the-screen can be set to three possible zoom levels when you’re in manual focus.

The Hybrid Viewfinder combines the best of both worlds...

... especially since you can overlay a little LCD panel that for accurate framing...

... or manual focus checking options: choose from 100%, 2.5 x en 6 x.
The first is 100 percent view (which basically gives you a mini view of the entire scene in your OVF, ideal for combining the precision of the EVF with the bright viewfinder of the OVF. The second is 2.5 times enlarged and the third is 6 times enlarged. Pressing the rear command dial (you knew that the rear command dial can be depressed, also on the X-T1, didn’t you?) cycles through these magnification levels. Combine those features with manual focus aids such as digital split-level or – what I prefer to use – focus peaking and you have noone to blame but yourself if your pictures aren’t sharp using manual focus on the X-Pro 2!
5) Dual Card Slot
I haven’t verified this, but according to Fujifilm, this is a first on a mirrorless camera. I know a lot of wedding photographers and generally everyone that shoots unique events that will utter sighs of relief. The card slot can be set to any of the following three options: sequential (when the first card is full, the camera starts writing to the second), backup (anything written to the first card is also written to the second) and RAW/JPEG, where RAW files are written to one card and JPEG files are written to the other.
Needless to say, the write speed to card has also dramatically improved. I remember that on the X-Pro 1, when I accidentally shot a bracketed series of photos, I swore because the camera would freeze up, literally for seconds. None of that on the X-Pro 2. I do recommend that you use fast cards. My sample unit had two Toshiba 16 GB Exceria Pro SD cards installed (the ones with the double row of contacts) and that worked perfectly.
That's it for the first 5 features. In this blog post, I'll cover 6 to 10. But let me leave you with one last image of Stéphanie. After all, it's all about the image, not about the camera, isn't it?


