Lightroom

What's new in Lightroom Classic CC 7.4

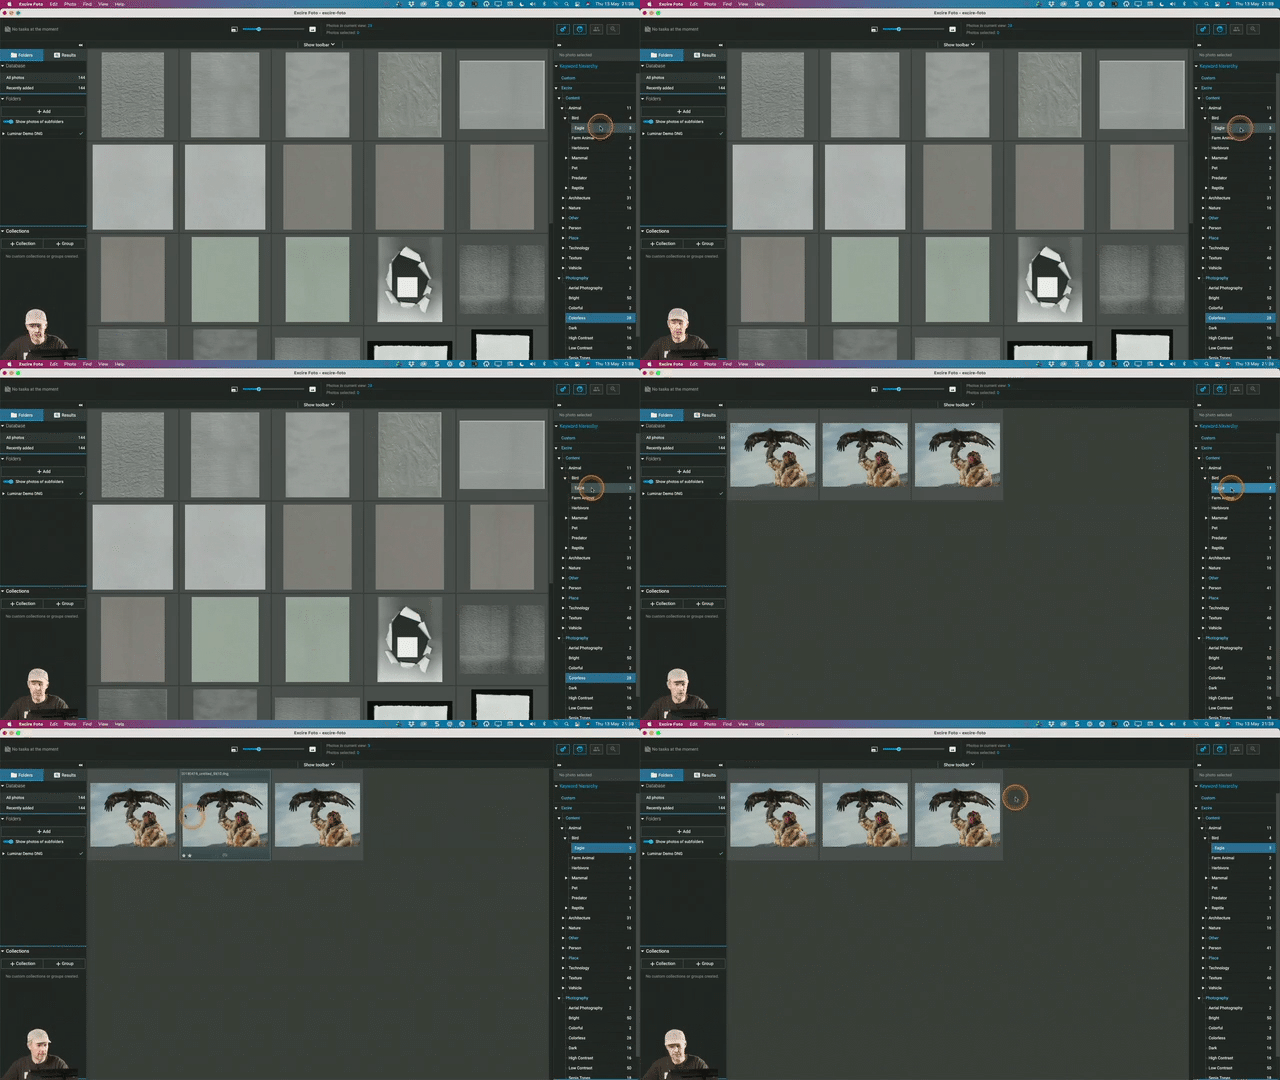
Adobe have just released Lightroom Classic CC 7.4, and it contains a couple of interesting organisational features: from now on, you can temporarily disable preset and profiles folders to reduce the amount of clutter without having to physically delete them. You can also add color labels to folders. In the following video, I walk you through these features, and I also give a recap of the new features that were introduced in 7.3 for those of you who missed those.

As a reminder, if you haven't done so already, make sure to subscribe to my newsletter. You'll be rewarded with 10 free Lightroom presets!

What's new in Lightroom Classic CC 7.2

Today, February 13, 2018, Adobe released the 7.2 update for Lightroom Classic CC. It's an interesting upgrade, because it contains amongst others a new set of performance improvements and even better news is that more improvements are announced for future updates. 

 
This news is not only encouraging for the speed improvements in and of themselves, but it also shows that Adobe stays committed to Lightroom Classic.

There are also a couple of cool new features, such as the ability to search through your folders panel. The video below gives you an overview of all the new features.

If you like it, please give it a little thumbs-up on Youtube or subscribe to my Youtube Channel to get notified of future videos.

As usual, there's also support for new cameras and lenses...

New Camera Support

  • Fujifilm X-A5
  • Fujifilm X-A20
  • Panasonic LUMIX DC-GF10 (DC-GF90)
  • Panasonic LUMIX DC-GH5s

Lens Correction Support

  • Canon EF 85mm f/1.4L IS USM
  • Rokinon SP 14mm f/2.4
  • Rokinon SP 85mm f/1.2
  • TAMRON 100-400mm F4.5-6.3 Di VC USD A035E
  • TAMRON 100-400mm F4.5-6.3 Di VC USD A035E x1.4
  • TAMRON 100-400mm F4.5-6.3 Di VC USD A035E x2.0
  • Zeiss Milvus 1.4/25 ZE
  • Leica M
  • Leica NOCTILUX-M 75mm f/1.25 ASPH.
  • Leica THAMBAR-M 90mm f/2.2
  • Nikon F
  • TAMRON 100-400mm F4.5-6.3 Di VC USD A035N
  • TAMRON 100-400mm F4.5-6.3 Di VC USD A035N x1.4
  • TAMRON 100-400mm F4.5-6.3 Di VC USD A035N x2.0
  • Zeiss Milvus 1.4/25 ZF.2
  • Sony E
  • Sony E 18-135mm F3.5-5.6 OSS

10 Useful Lightroom Tricks and Shortcuts involving the Option (Alt) Key

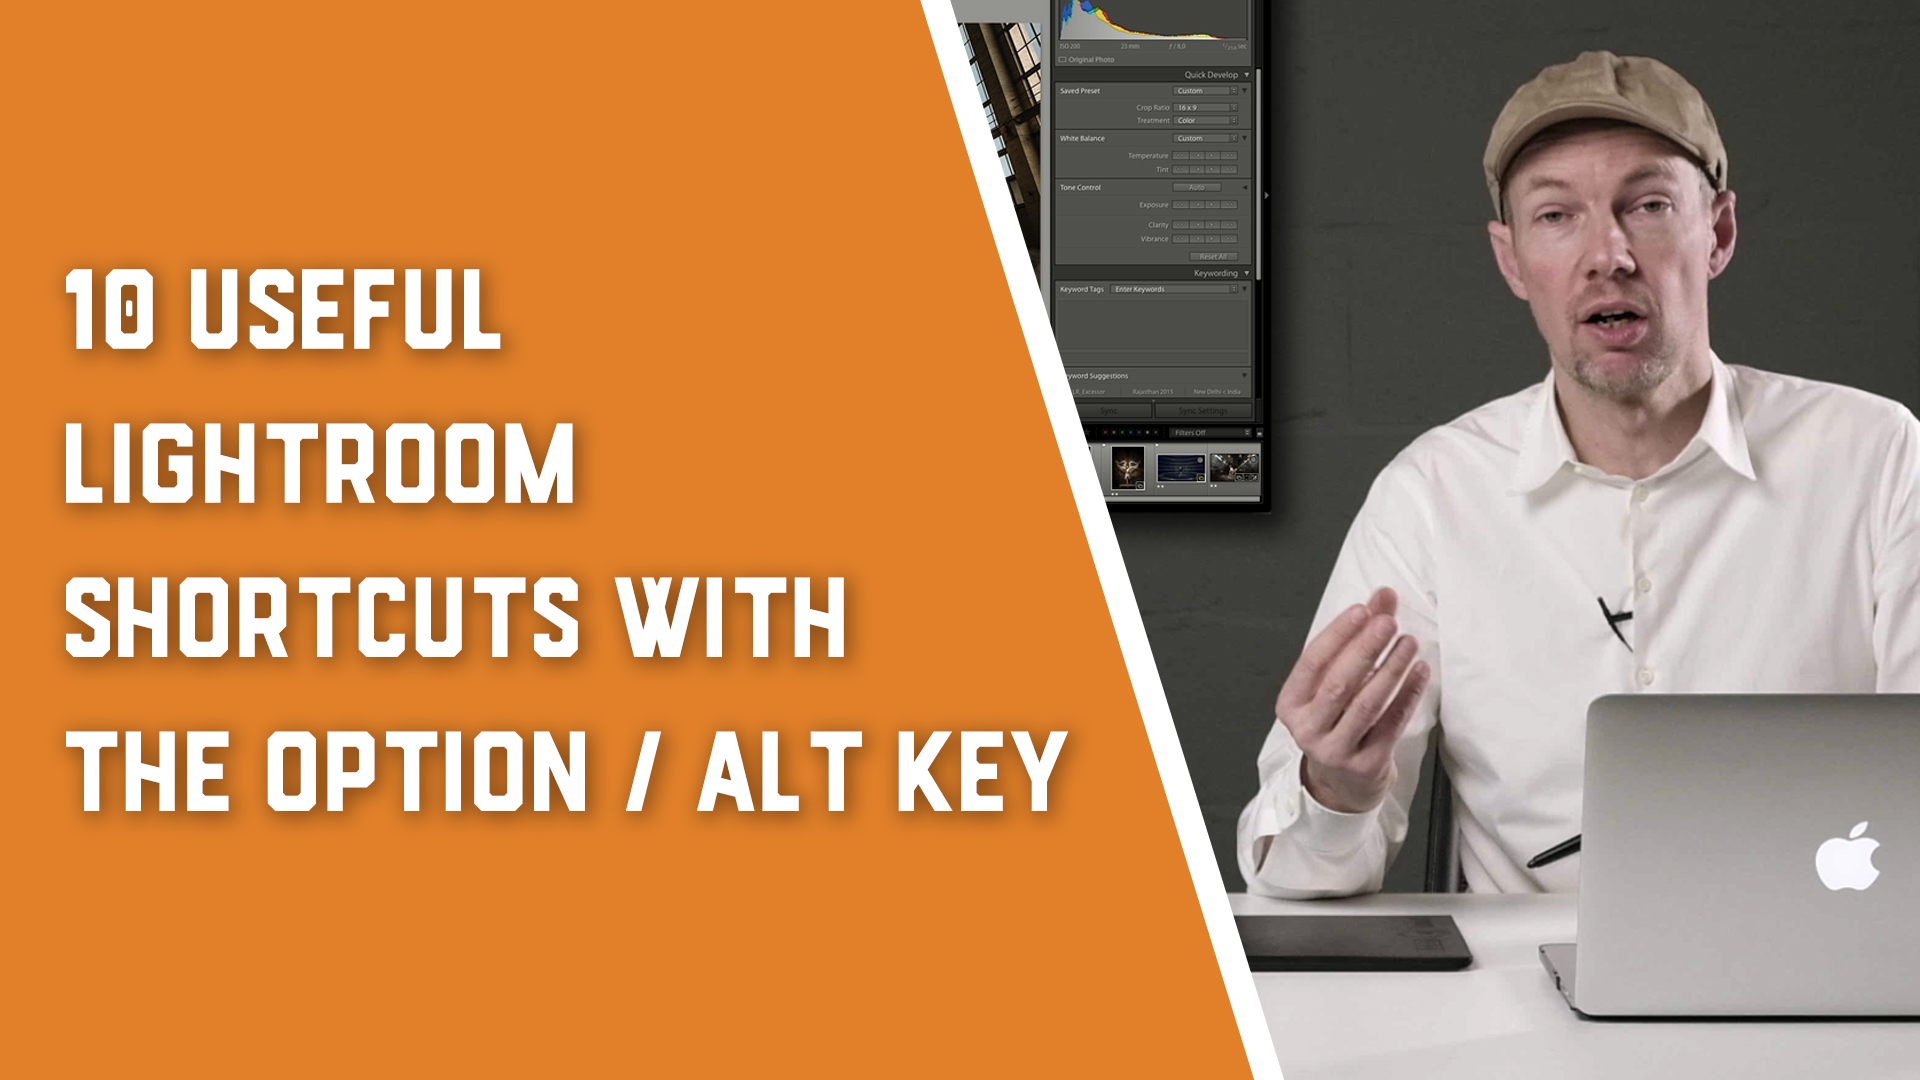
The Option key (Alt key on Windows) is one of the so-called 'modifier keys': it modifies the behaviour of a button or a slider. In the following video, I cover ten useful things the Option/Alt key lets you do in Lightroom. I'm sure even seasoned Lightroom users will pick up a couple of useful tips as I not only talk about the shortcuts themselves but also try to give some insight as to why you'd want to use them in the first place.

I hope you'll like the video. If you do, please give it a little thumbs-up on Youtube or subscribe to my Youtube Channel to get notified of future videos.

If you know any other cool Option/Alt Lightroom tricks yourself, let us know in the Comments!

The End of an Era: Lightroom 6.14 is the last update for Lightroom 6

Adobe has just released Lightroom 6.14, the last update for Lightroom 6 users. Therefore, this blogpost is only relevant for those of you who are still on Lightroom 6. If you've already moved  to Lightroom Classic CC (the subscription version of Lightroom, this message does not apply to you).

What's new in Lightroom 6.14

Lightroom 6.14 doesn't bring any new features. Only a couple of bug fixes and some new camera and lens support. Among the new cameras, the Sony Alpha 7RIII and the iPhone X are probably the most noteworthy. 

What should I do when I buy a new camera in 2018?

Well, you have three options, basically. If you stick with Lightroom 6, you can use the free Adobe DNG converter, which will be able to convert your new camera's files to DNG files which you will subsequently be able to import into Lightroom 6.

The DNG converter workflow. Image © Adobe

The DNG converter workflow. Image © Adobe

The second option is to upgrade to Lightroom Classic CC, the subscription version of Lightroom. Not only will you have continuous camera support, but you'll also gain access to all the new features you have been missing out on for the last 2 years, since Lightroom 6 was introduced. You can find a comprehensive video review of all the features in these blog posts (English, Dutch).

Finally, your last option would be to leave the Lightroom ecosystem altogether and switch to one of the many competing applications, such as Capture One, On1 Photo Raw, Luminar and the like. Personally, I won't be making that switch any time soon, as the only true Lightroom alternative is Capture One in my opinion (because it has database functionality in addition to being a raw developer), and this application doesn't support the Fujifilm GFX. Maybe Capture One think it's too much of a threat for their Phase One Medium Format systems, which are three times as expensive. I personally don't.

How can I upgrade to Lightroom 6.14?

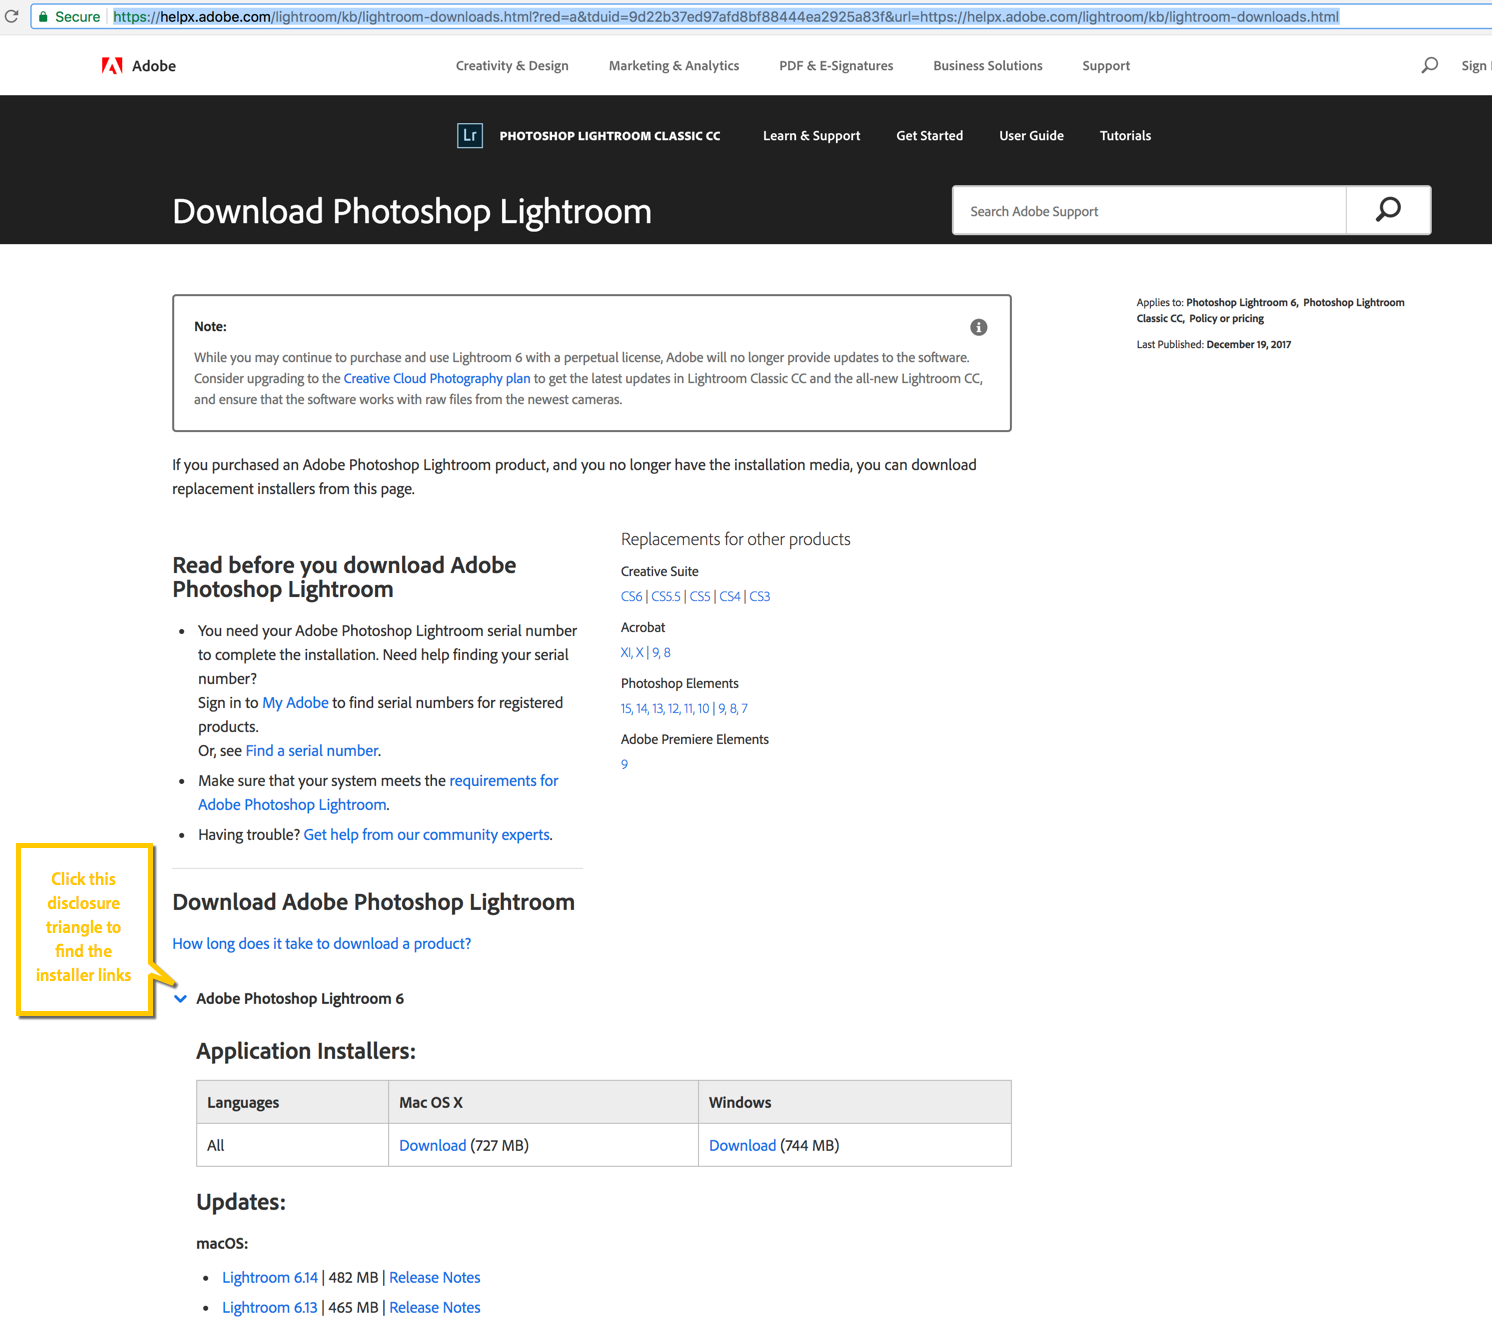
The best way to upgrade is to not use the Adobe Application Manager but to use the direct installer links you find here. This way, you won't accidentally install Lightroom Classic CC instead of the 6.14 update.

December Lightroom Update

A New (and much better) Auto Tone algorithm

Good news for those of you who use Lightroom through Adobe's subscription model (either the full Creative Cloud suite or the Photography plan, including Photoshop). Adobe has just released Lightroom Classic CC 7.1. There are a number of bug fixes in this release, including a fix for the bug where Loupedeck users could not use their Loupedeck in specific languages. There's also support for a couple of new cameras, including the Sony Alpha 7 RIII. But, perhaps most importantly, there is an interesting improved feature: the Auto option in the Tone section of the Basic panel has been completely reworked. Contrary to the old version, the tool can now also change Vibrance and Saturation and it is less prone to produce overexposed results. It uses machine-learning technology and a database of thousands of photographs (and their edits) to come up with a better automatic correction of your images. I was never a fan of the old Auto, because it seemed to be very hit or miss to me... The new Auto however is, although not perfect, quite an improvement. It's definitely worth trying out.

In the above example, Lightroom's Auto did a remarkable job of correcting this severely underexposed image.

A slightly less extreme example, where Lightroom's new Auto helped to reveal sky detail.

Delete Color Mask Sample Points

Another small new feature is that you can now Alt/Option click on an individual color sample in the new color range mask tool, to remove existing sample points. If you're unfamiliar with the range mask tool, this blog post tells you all about it and the other new features. It's one of my favourite features of the October Lightroom Classic CC update.

Lightroom D850 users will be happy to hear that there is now tethering support for their camera.

New features in Lightroom CC

The improved Auto technology is also in the new cloud-centric Lightroom CC App (and in Lightroom for iOS and Android, for that matter).  Lightroom CC also received some other new features, such as:

  • Tone Curve
  • Split Toning
  • The ability to edit the Capture Time
  • A Full Screen mode (Shortcut: F)

What about Lightroom 6?

If you're a Lightroom 6 user, this update isn't for you. Adobe have announced there will be one more update 'towards the end of the year'. There probably won't be any new features in this update, but there might be support for some extra cameras. If you buy a new camera next year, you'll have to convert its raw files to DNG using the Adobe DNG Converter, if you still want to process the files in Lightroom 6.

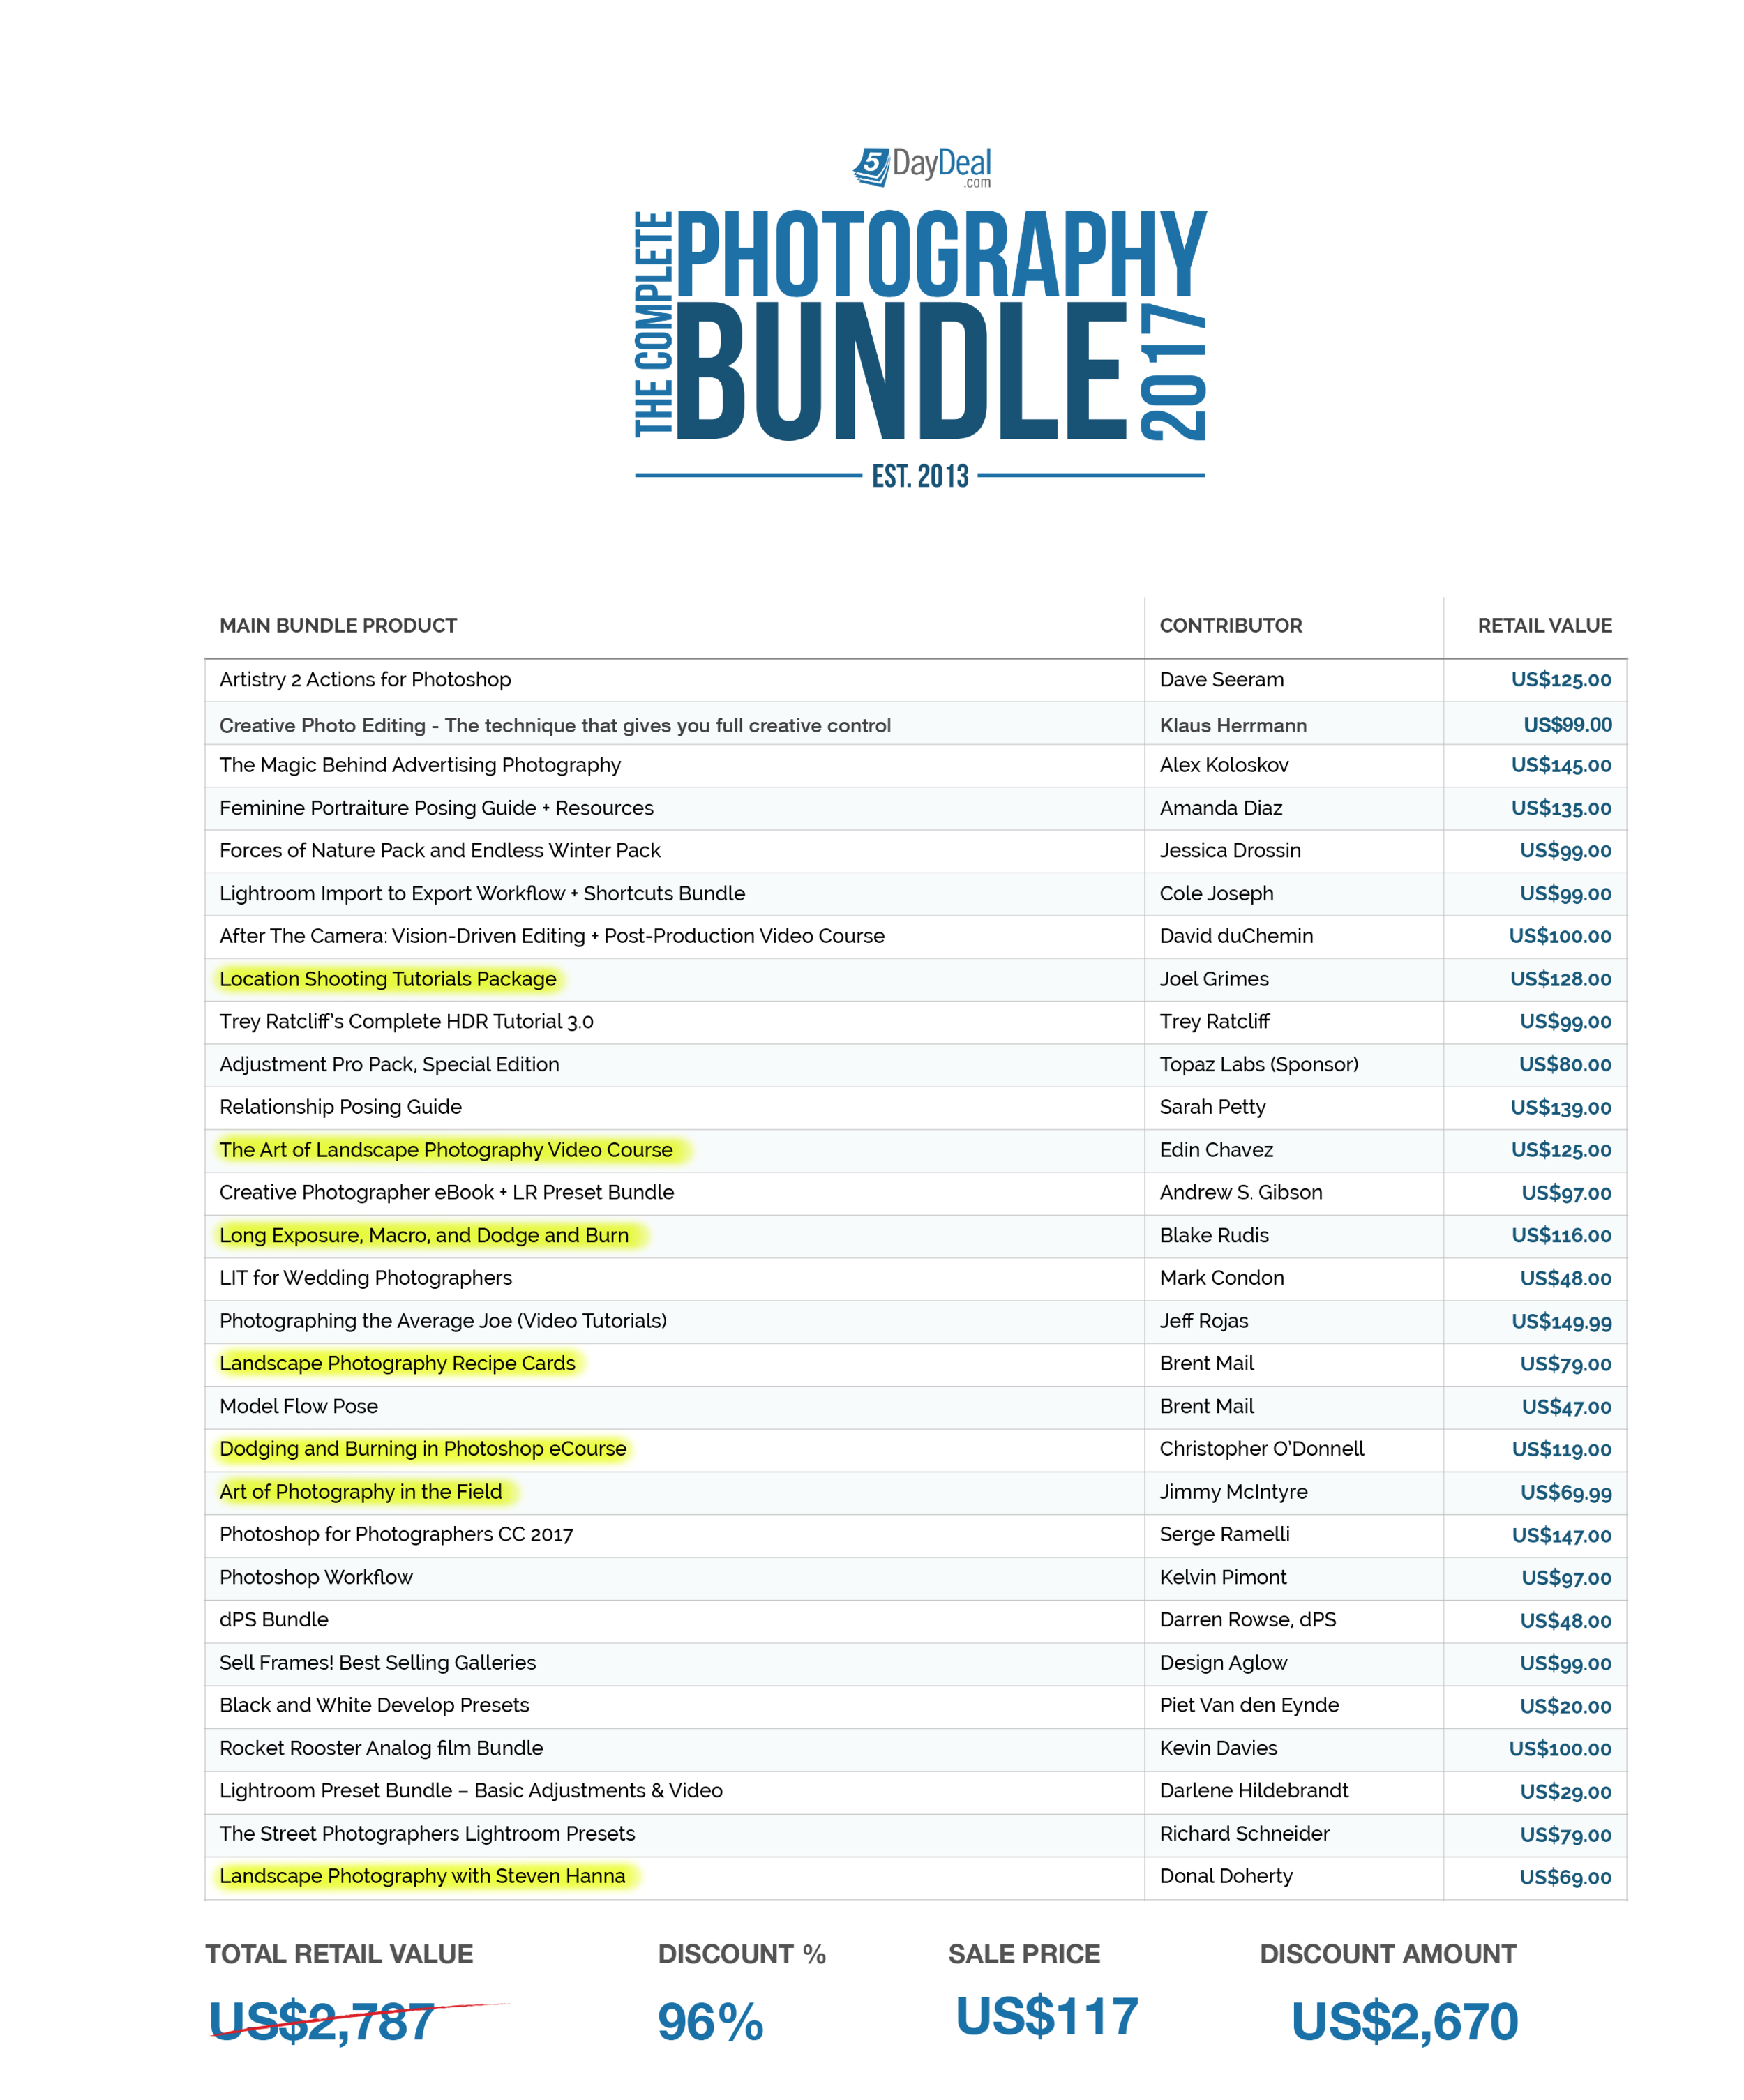
The 5DayDeal is back! $2.500 worth of photo education and tools for only $117

From now until October 18th, noon PDT, it's 5 Day Deal time again! The 5 Day Deal is a unique bundle of photographic training content. If you were to buy every item separately, you'd be looking at a total bill of over $2.750. Now, you're only paying $117 (+ European VAT unless you have a VAT ID), a savings of more than 95 percent! The total bundle contains over 75 hours of video training, several eBooks and over 1400 Lightroom presets, Photoshop actions and other digital tools. In total several gigabytes worth of training goodness.

Yes, but what's in it for me?

Of course, the real question is: 'What is this bundle worth to you?' Unless you're really into all genres of photography, probably not the full $2.500. But I can guarantee you that even if you're only remotely interested in photography, the 5 Day Deal bundle is certainly worth more than the measly $117 it's selling for. In fact, this bundle will do more for your photography than the umpteenth camera bag or a shiny new UV filter. 

To help you determine if it's worth your dollar, I've broken the bundle down into three typical areas of interest: general postprocessing, landscape photography and portrait photography. You'll see that even if you're only really into one of those three areas, the bundle is a steal. Heck, if you're into two or more, you should already be ordering!

1. You're into Lightroom, Photoshop and Postprocessing

Postprocessing seems to be the main theme of this year's bundle, so if image editing is your thing, you're in for a treat. The bundle is ideal to hone your editing skills over these cold winter months and get you ready for a great start in 2018. There's hundreds of Lightroom presets and Photoshop actions, overlays like smoke and sun flares and loads of training videos. As you can see, I'm very honoured that my own Black & White Lightroom Preset pack is included in the bundle. But even if you already have that, there's still $2.767 of other stuff :-) The total value of the highlighted items alone is over $1.500. The 5 Day Deal price is less than ten percent of that. If you're a Lightroom or Photoshop user, this bundle really is a no-brainer.

2.  You're mainly interested in nature photography, landscapes, cityscapes and how to postprocess these

The total value of the highlighted items is about $700. From previous 5 Day Deals, I remember the excellent quality of the stuff that people like Jimmy McIntyre and Christopher O'Donnell put out, so I'm looking forward to discovering their new courses. Also, note that I've only counted items that have a direct relationship to landscape photography. There are lots of resources, like the many preset packs, that will without a doubt also be useful when you're editing your landscape images.

3. You're mainly interested in portrait photography and portrait retouching

The total value of the highlighted items is almost $800. Again, there are some hidden gems in this line-up. For example, I really enjoyed Jeff Rojas' no-nonsense approach on how to interact with, light and photograph 'normal people'. After all, we not always get to choose who winds up in front of our lens!

Still in doubt?

Here's 5 final reasons why you should really consider this bundle:

10 percent of each sale goes to charity. Since 2013, people buying the 5DayDeal have raised over $1.000.000 for charity.

10 percent of each sale goes to charity. Since 2013, people buying the 5DayDeal have raised over $1.000.000 for charity.

  1. This way of learning is one of the cheapest to improve your photography skills, at your own pace, when and where you want it. Furthermore, there's always a couple of hidden gems in bundles like this. For example, I really enjoyed Andrew S. Gibson's Black & White Presets and Jeff Rojas' posing and lighting video.
  2. A lot of this bundle's resources are new and if they aren't new, at least they've never been in any other 5 Day Deal bundle, so there's no overlap with previous 5 Day Deal purchases.
  3. The bundle is gone forever on October 18th, noon PDT.
  4. 10 percent of the entire turnover (not the profits, but the turnover, so almost $10 on every sale) goes to charity. Since the start of the 5 Day Deal in 2013, over $1.000.000 was donated to good causes. To that effect, upon checkout, you can opt for the 'Charity Match bundle'. This is an extra, separate bundle, worth over $900 which costs an extra $24,97, half of which goes to charity. Some 50% of people who bought the bundle so far have chosen this option. If you want to maximise your savings and in the mean time maximise your charity donation, look for the 'Charity Match' section, you'll see it on the 5 Day Deal page.
  5. But wait, there's more :-) Another extra option is the 'Pro Bundle Addon'. That's almost $500 worth of content for an add-on of only $12,47.

You see, I'm shutting up already. Yes. I'm that easy :-)

For an extra $24,97, you not only double the amount of money that goes to charity, but you also get access to over $900 worth of extra stuff. There are two photography courses in there, including the world-famous one by Fstoppers, one of the largest…

For an extra $24,97, you not only double the amount of money that goes to charity, but you also get access to over $900 worth of extra stuff. There are two photography courses in there, including the world-famous one by Fstoppers, one of the largest photo websites. Then, if you still have another $12,47 to burn, you can get the Pro Bundle Add-on as well...

Stepping out of your comfort zone

From short lighting with a big softbox...

[Recommended soundtrack while reading this blog post: Stepping Out by Joe Jackson :-) ]

People are creatures of habit. So are photographers, at least this photographer is. There are areas where we feel more comfortable than others. For me, lighting wise, my comfort zone is flash. I love using flash. I know a lot of you find it complicated but I don't - at least not anymore. [Shameless plug: if you find flash intimidating, I've written a book that will help you overcome your fears. It's available here in English and here in Dutch - end of shameless plug].

The fact that I can reach into my gear bag and whip out my own portable sun is very reassuring to me. Comforting. Within that broad comfort zone of using flash, I have one technique I am more comfortable with than others. If flash is my house, then this technique is my sofa, so to speak... I could perform it on my slippers. In fact, I already have :-)

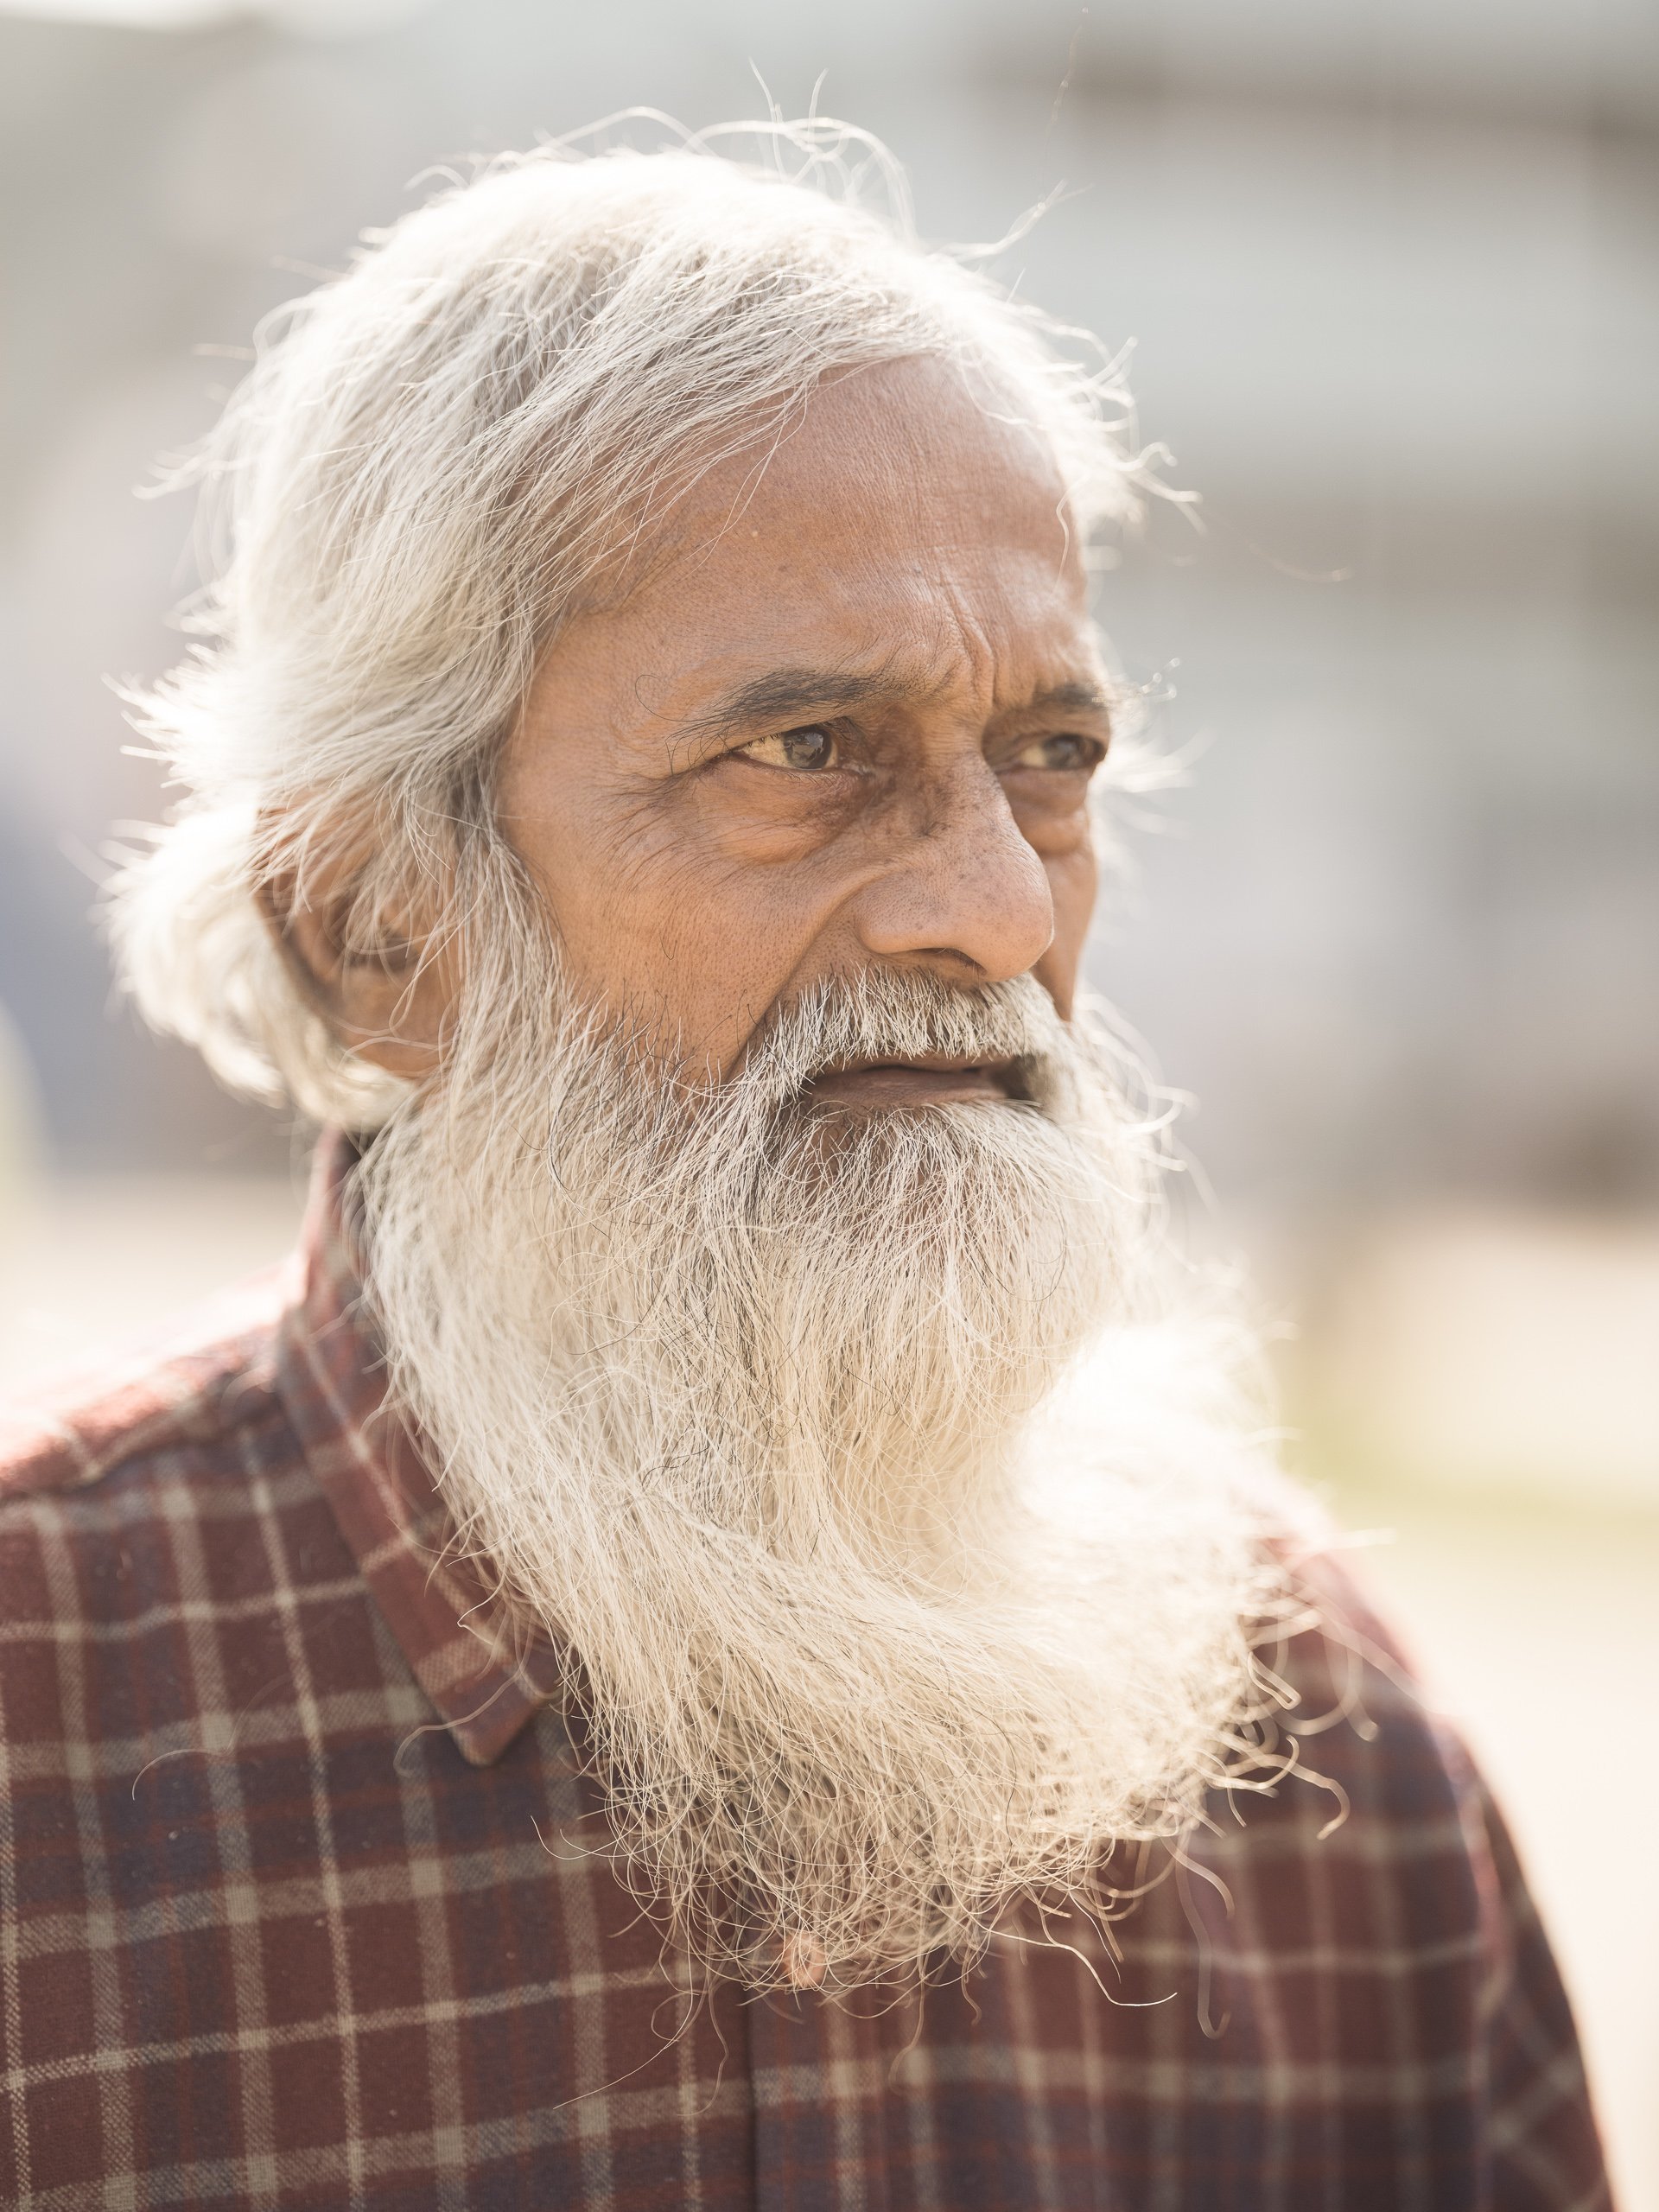
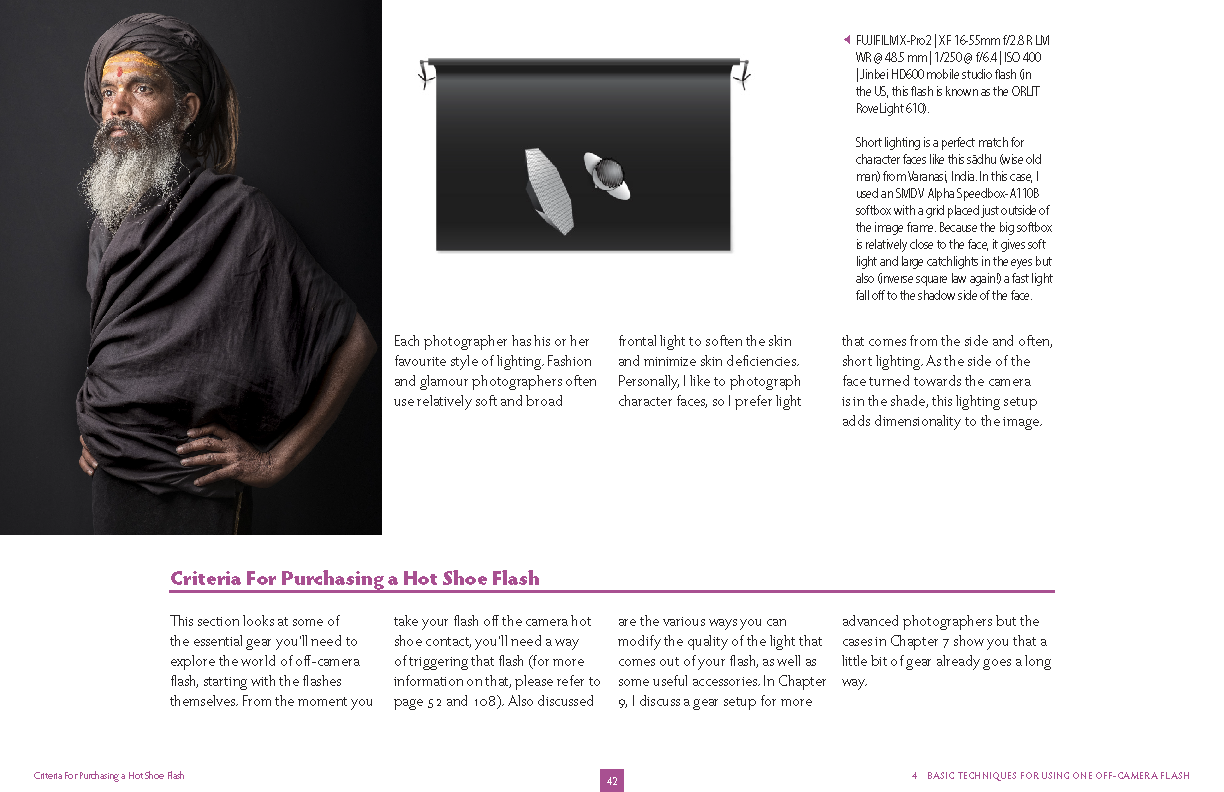
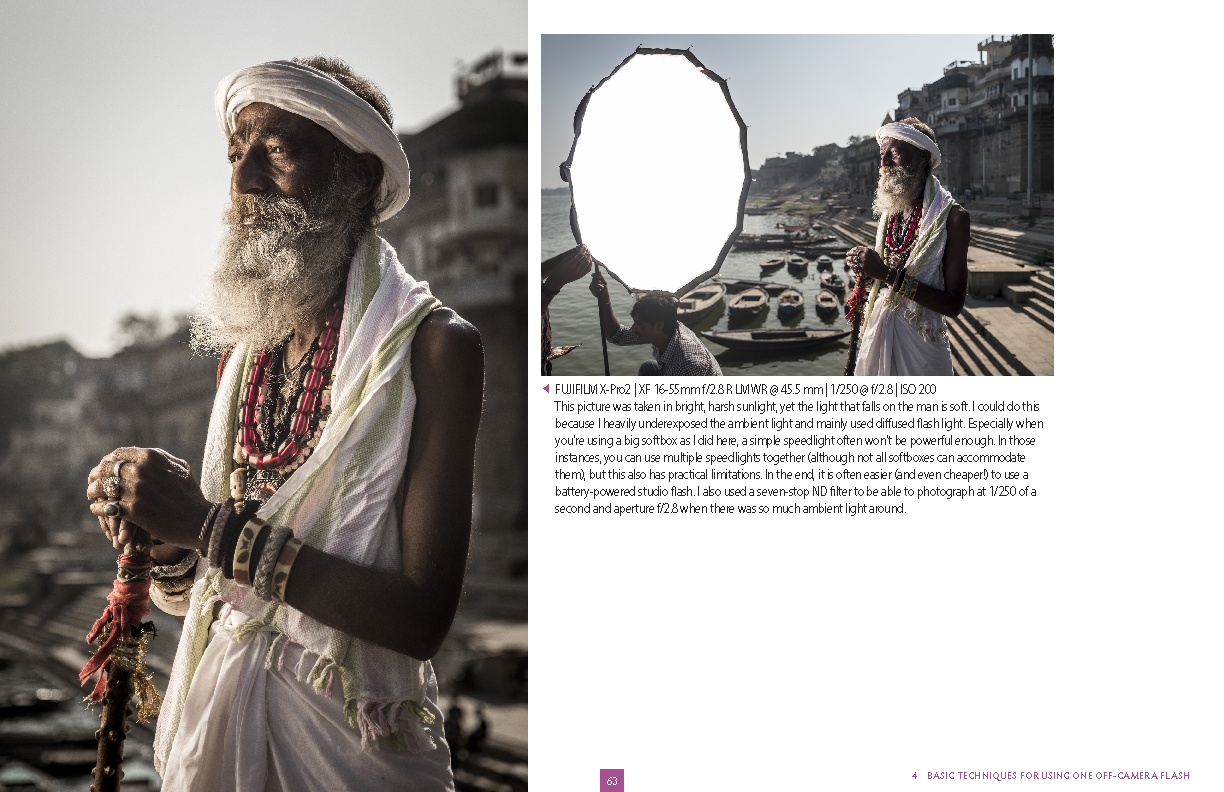
That go-to technique is the one you see in the image below: it's short-lighting with a relatively big softbox, combined with natural rim-light from the sun. My preferred softboxes are the SMDV Alpha 110 (this thing sets up in less than 15 seconds and breaks down in less than 2) and the Elinchrom Rotalux 175 cm. Generally, I'll be working with a standard to wide angle lens fairly wide open. In this image, the softbox was camera left, almost at a 90 degree angle to the camera. Because the subject has his face slightly turned to his right, the softbox predominantly lights the side of the face that's turned away from the camera, leaving a - in my opinion at least - beautiful Rembrandt triangle on the side of the face that's closest to the camera.

By putting my subject with the back to the sun, I kill two birds with one stone. First of all, I avoid squinting in the eyes and second, the sun gives me a free rim light, which helps to separate him from the background: do you see the narrow white line around the turban (camera right) and his shirt? That's the sun. I'll slightly underexpose the background and then I'll bring my subject back to the desired light level with the flash... I've done a zillion of these photographs and I'll probably do a zillion more, because I just like the look...

FUJIFILM GFX 50S | GX63mmF2.8 R WR @ 63 mm | 1-125 sec. @ f - 2,8 | ISO 500 - Flash was an SMDV BRiHT 360 in an SMDV 85 cm Speedbox

FUJIFILM GFX 50S | GX63mmF2.8 R WR @ 63 mm | 1-125 sec. @ f - 2,8 | ISO 500 - Flash was an SMDV BRiHT 360 in an SMDV 85 cm Speedbox

... Over short-lighting with a harsh light source...

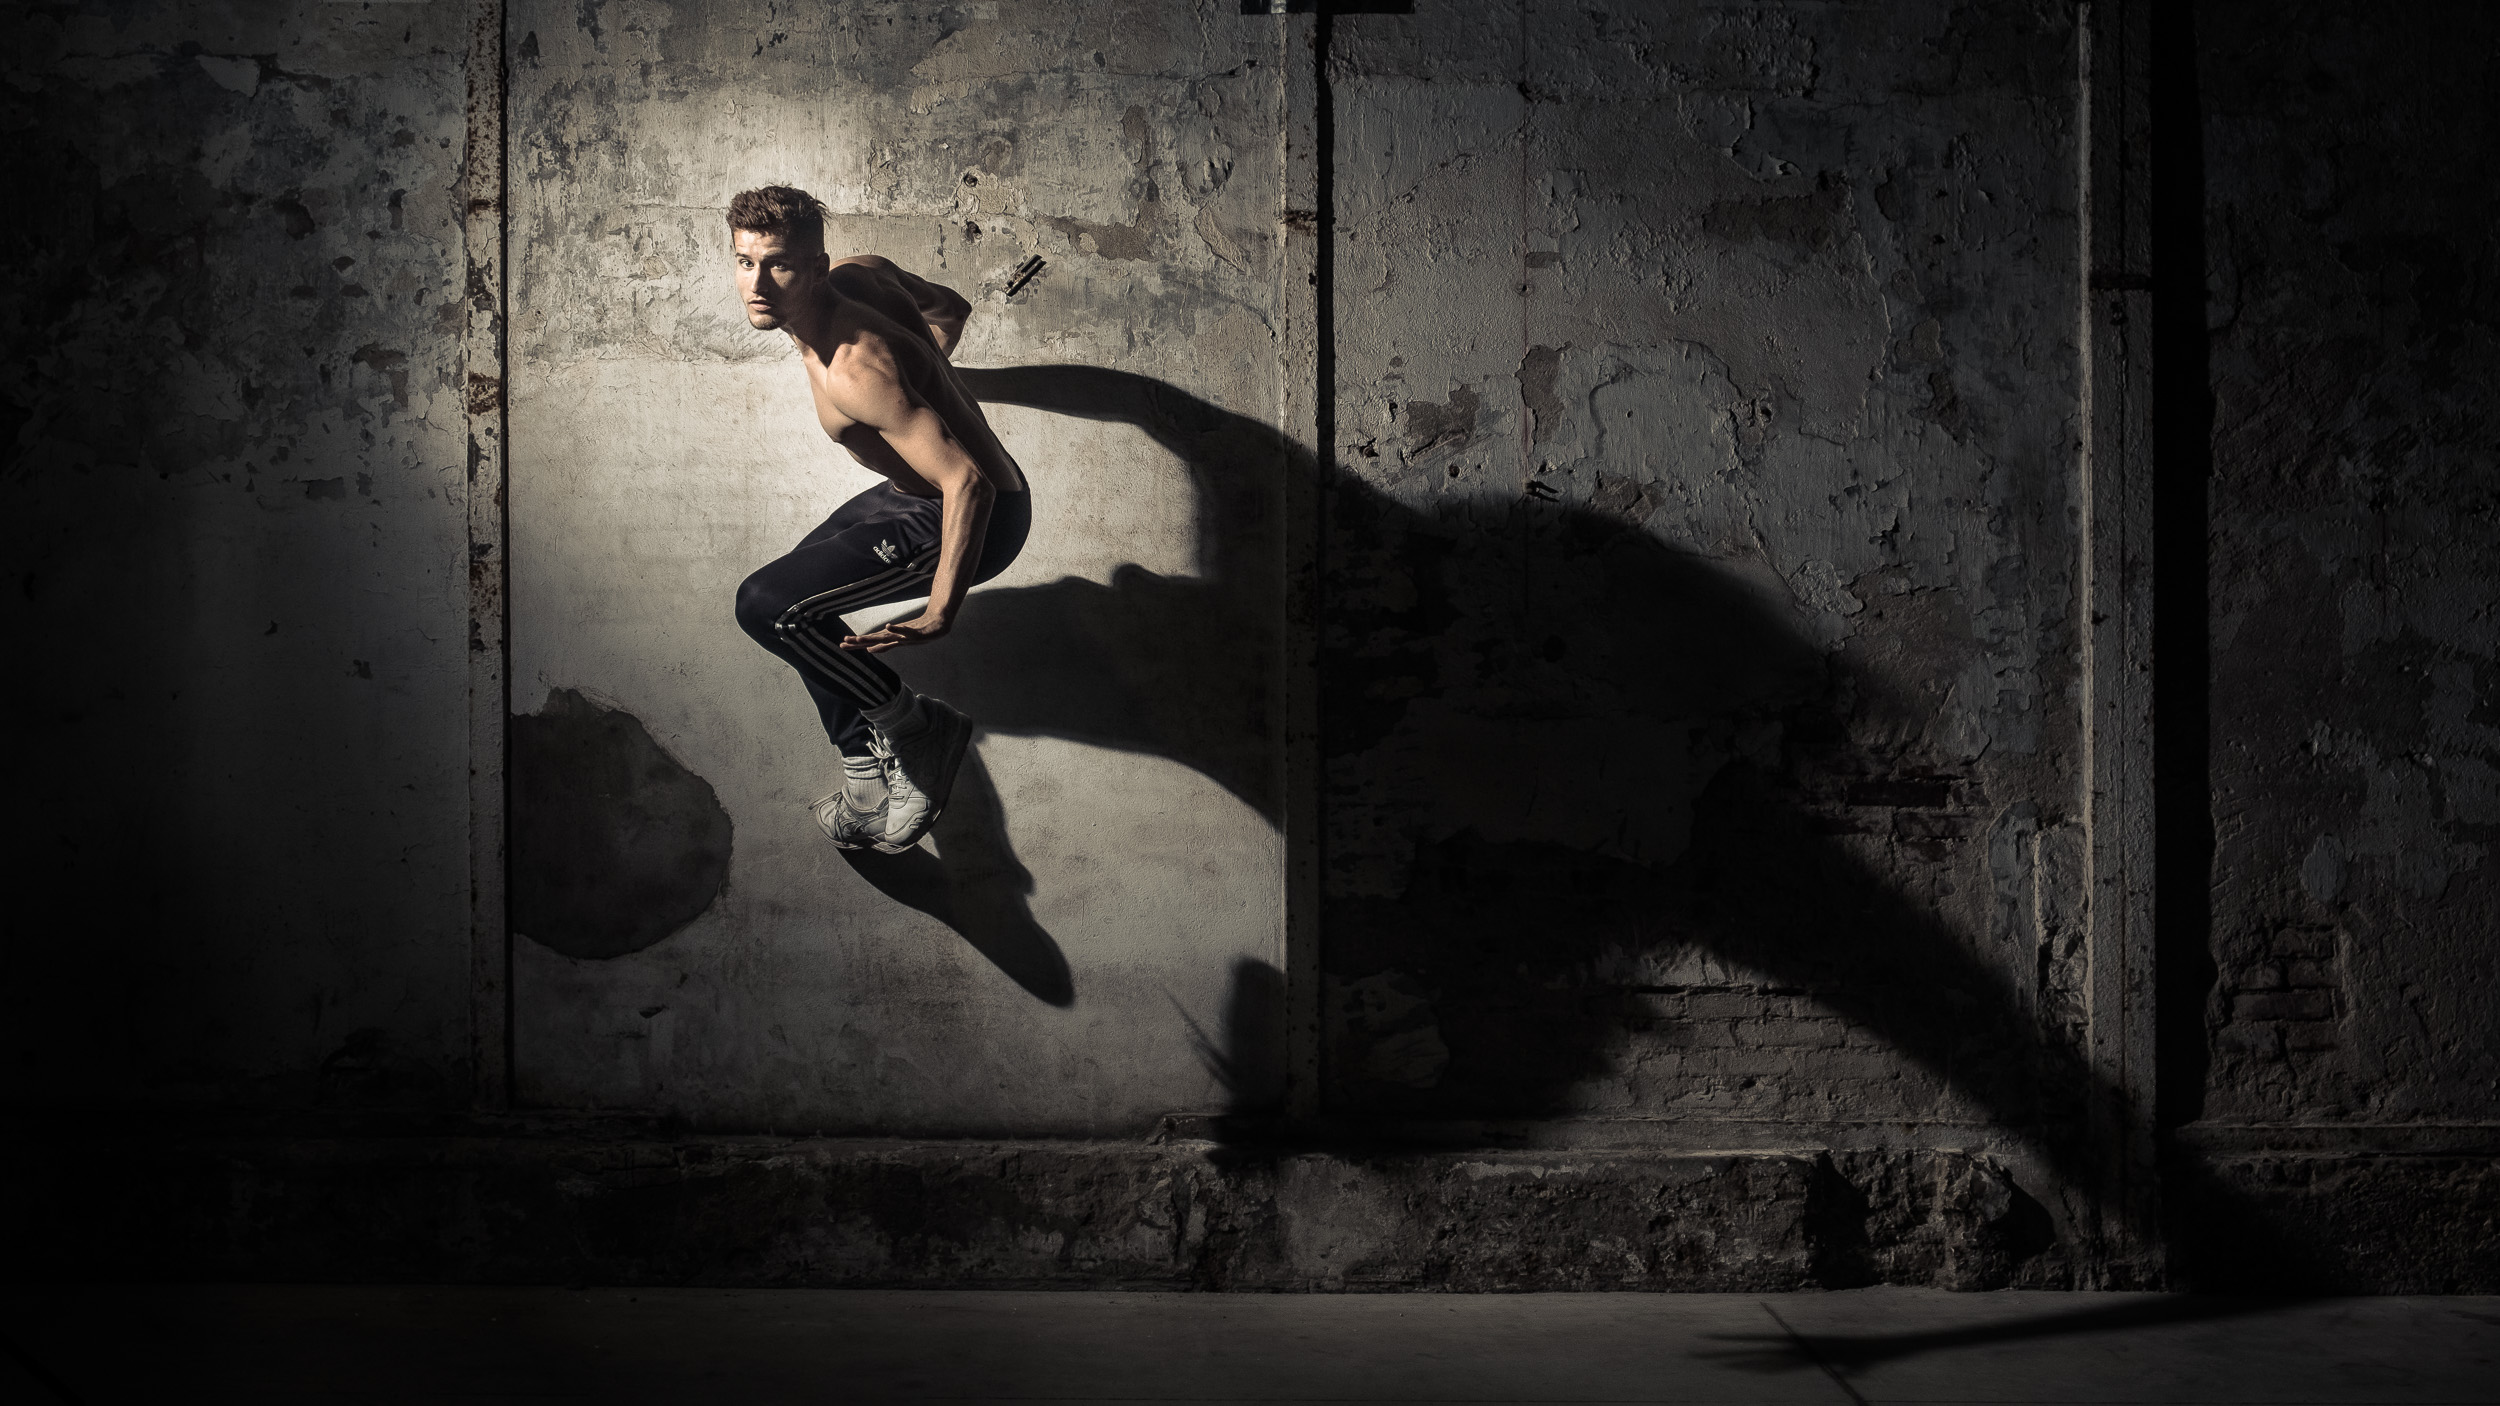
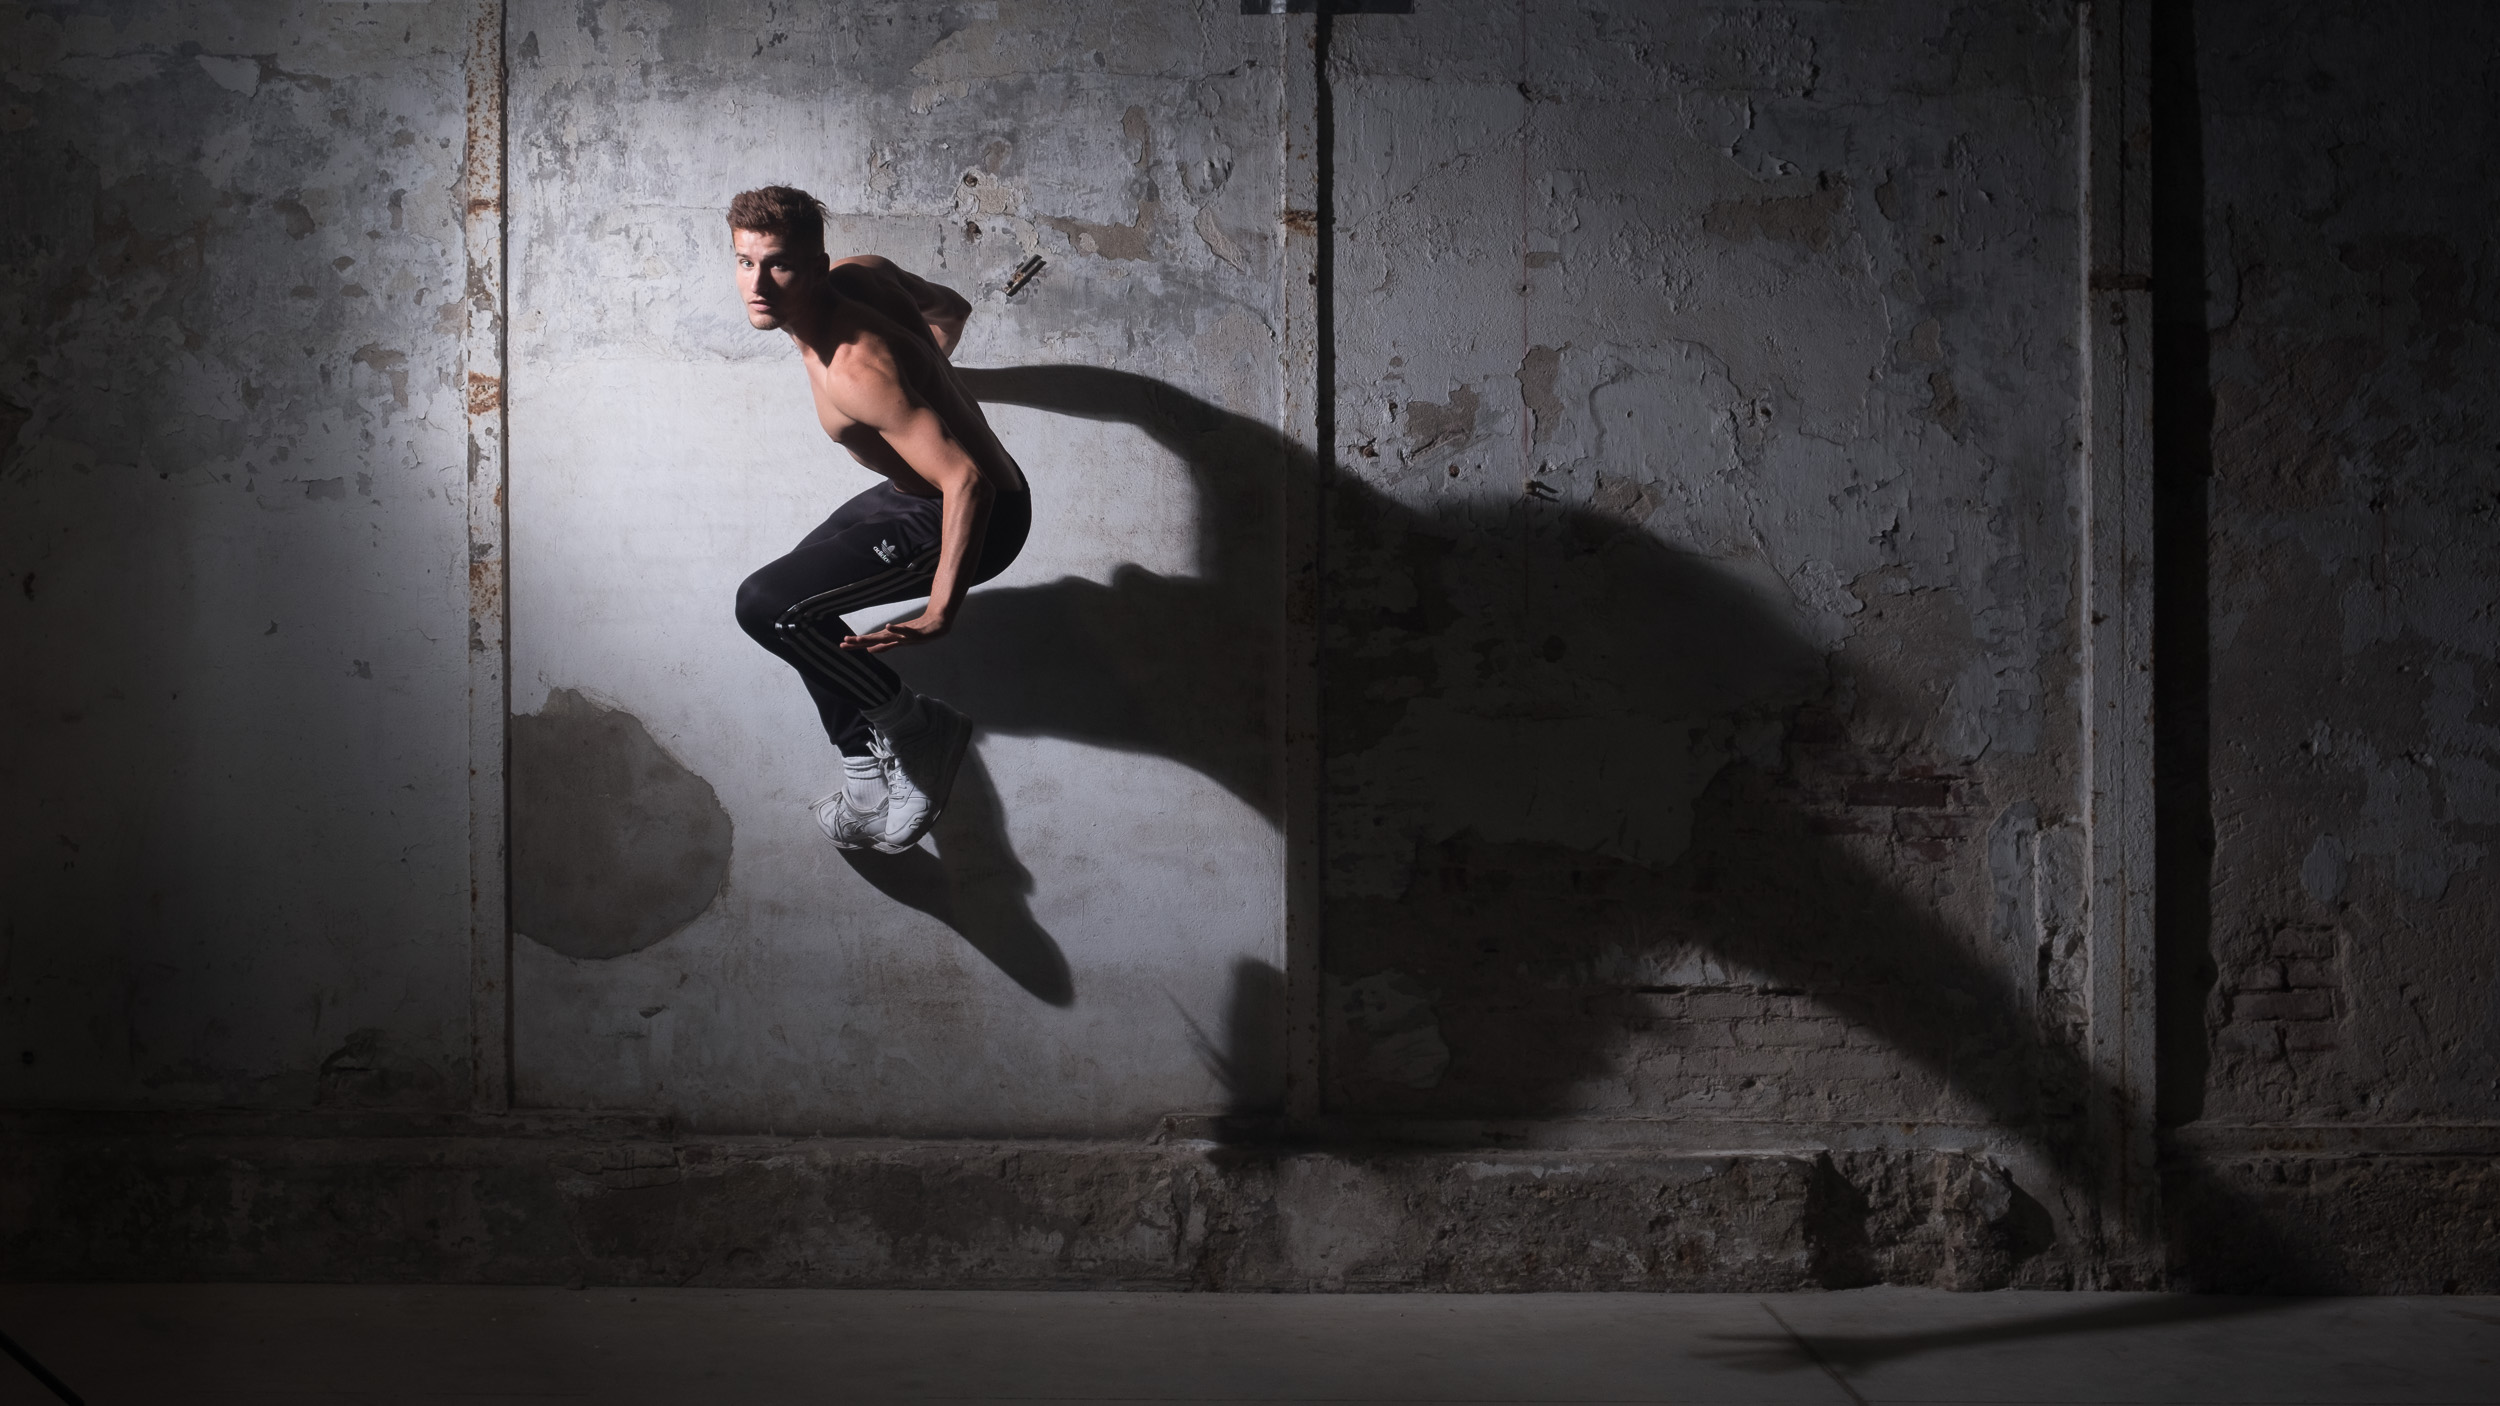
The danger of having a preferred style like this, is that you'll use it always and everywhere and that you no longer even consider alternatives that might be better. You might get a nice, safe shot, but not necessarily the one that fits the subject or the situation best. For the shot below, for example, I decided to break my usual routine. The big softbox I normally use, creates soft shadows, but here I wanted the shadow to be a part of the image, probably even the most important part. So I switched out the softbox for a standard reflector in this portrait of dancer Bradley. That's one step away from my comfort zone... But I did keep the short lighting look... We're going to get rid of that, too, in the next image...

FUJIFILM X-T2 | XF18-55mmF2.8-4 R LM OIS @ 31.5 mm | 1-160 sec. @ f - 7,1 | ISO 200 - Flash was a Godox AD200

FUJIFILM X-T2 | XF18-55mmF2.8-4 R LM OIS @ 31.5 mm | 1-160 sec. @ f - 7,1 | ISO 200 - Flash was a Godox AD200

... Over rim-lighting with a flash...

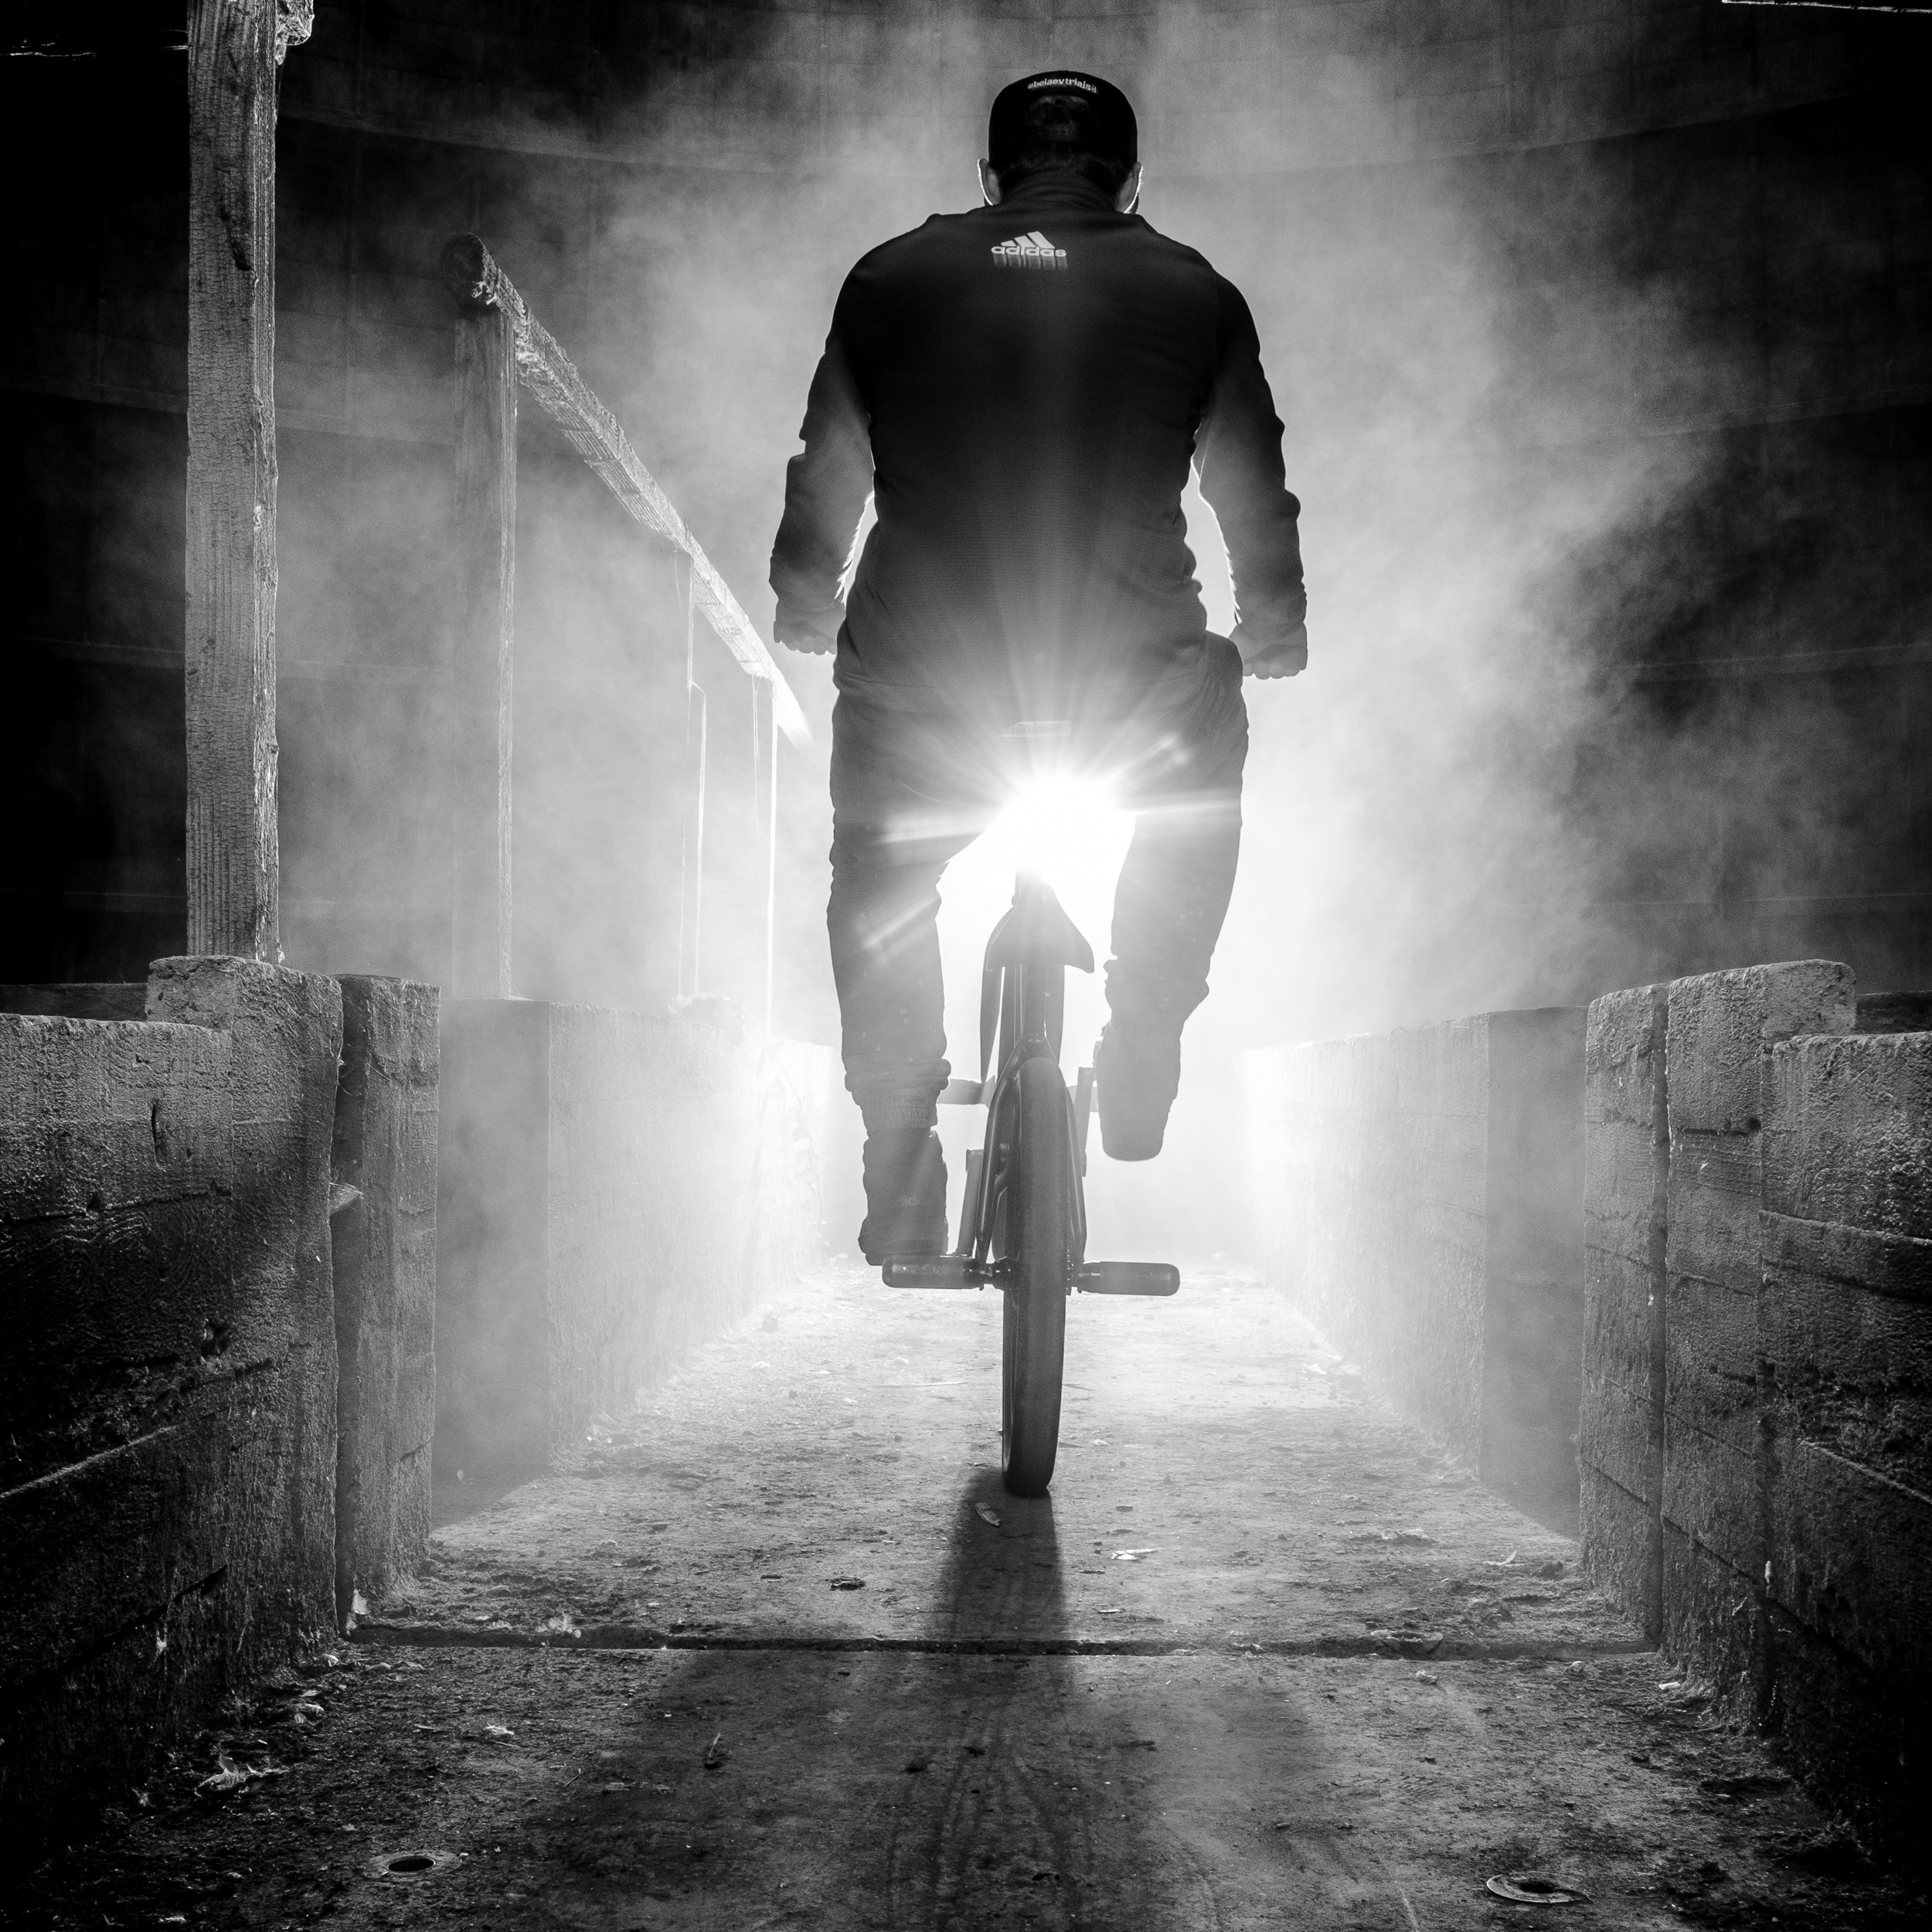
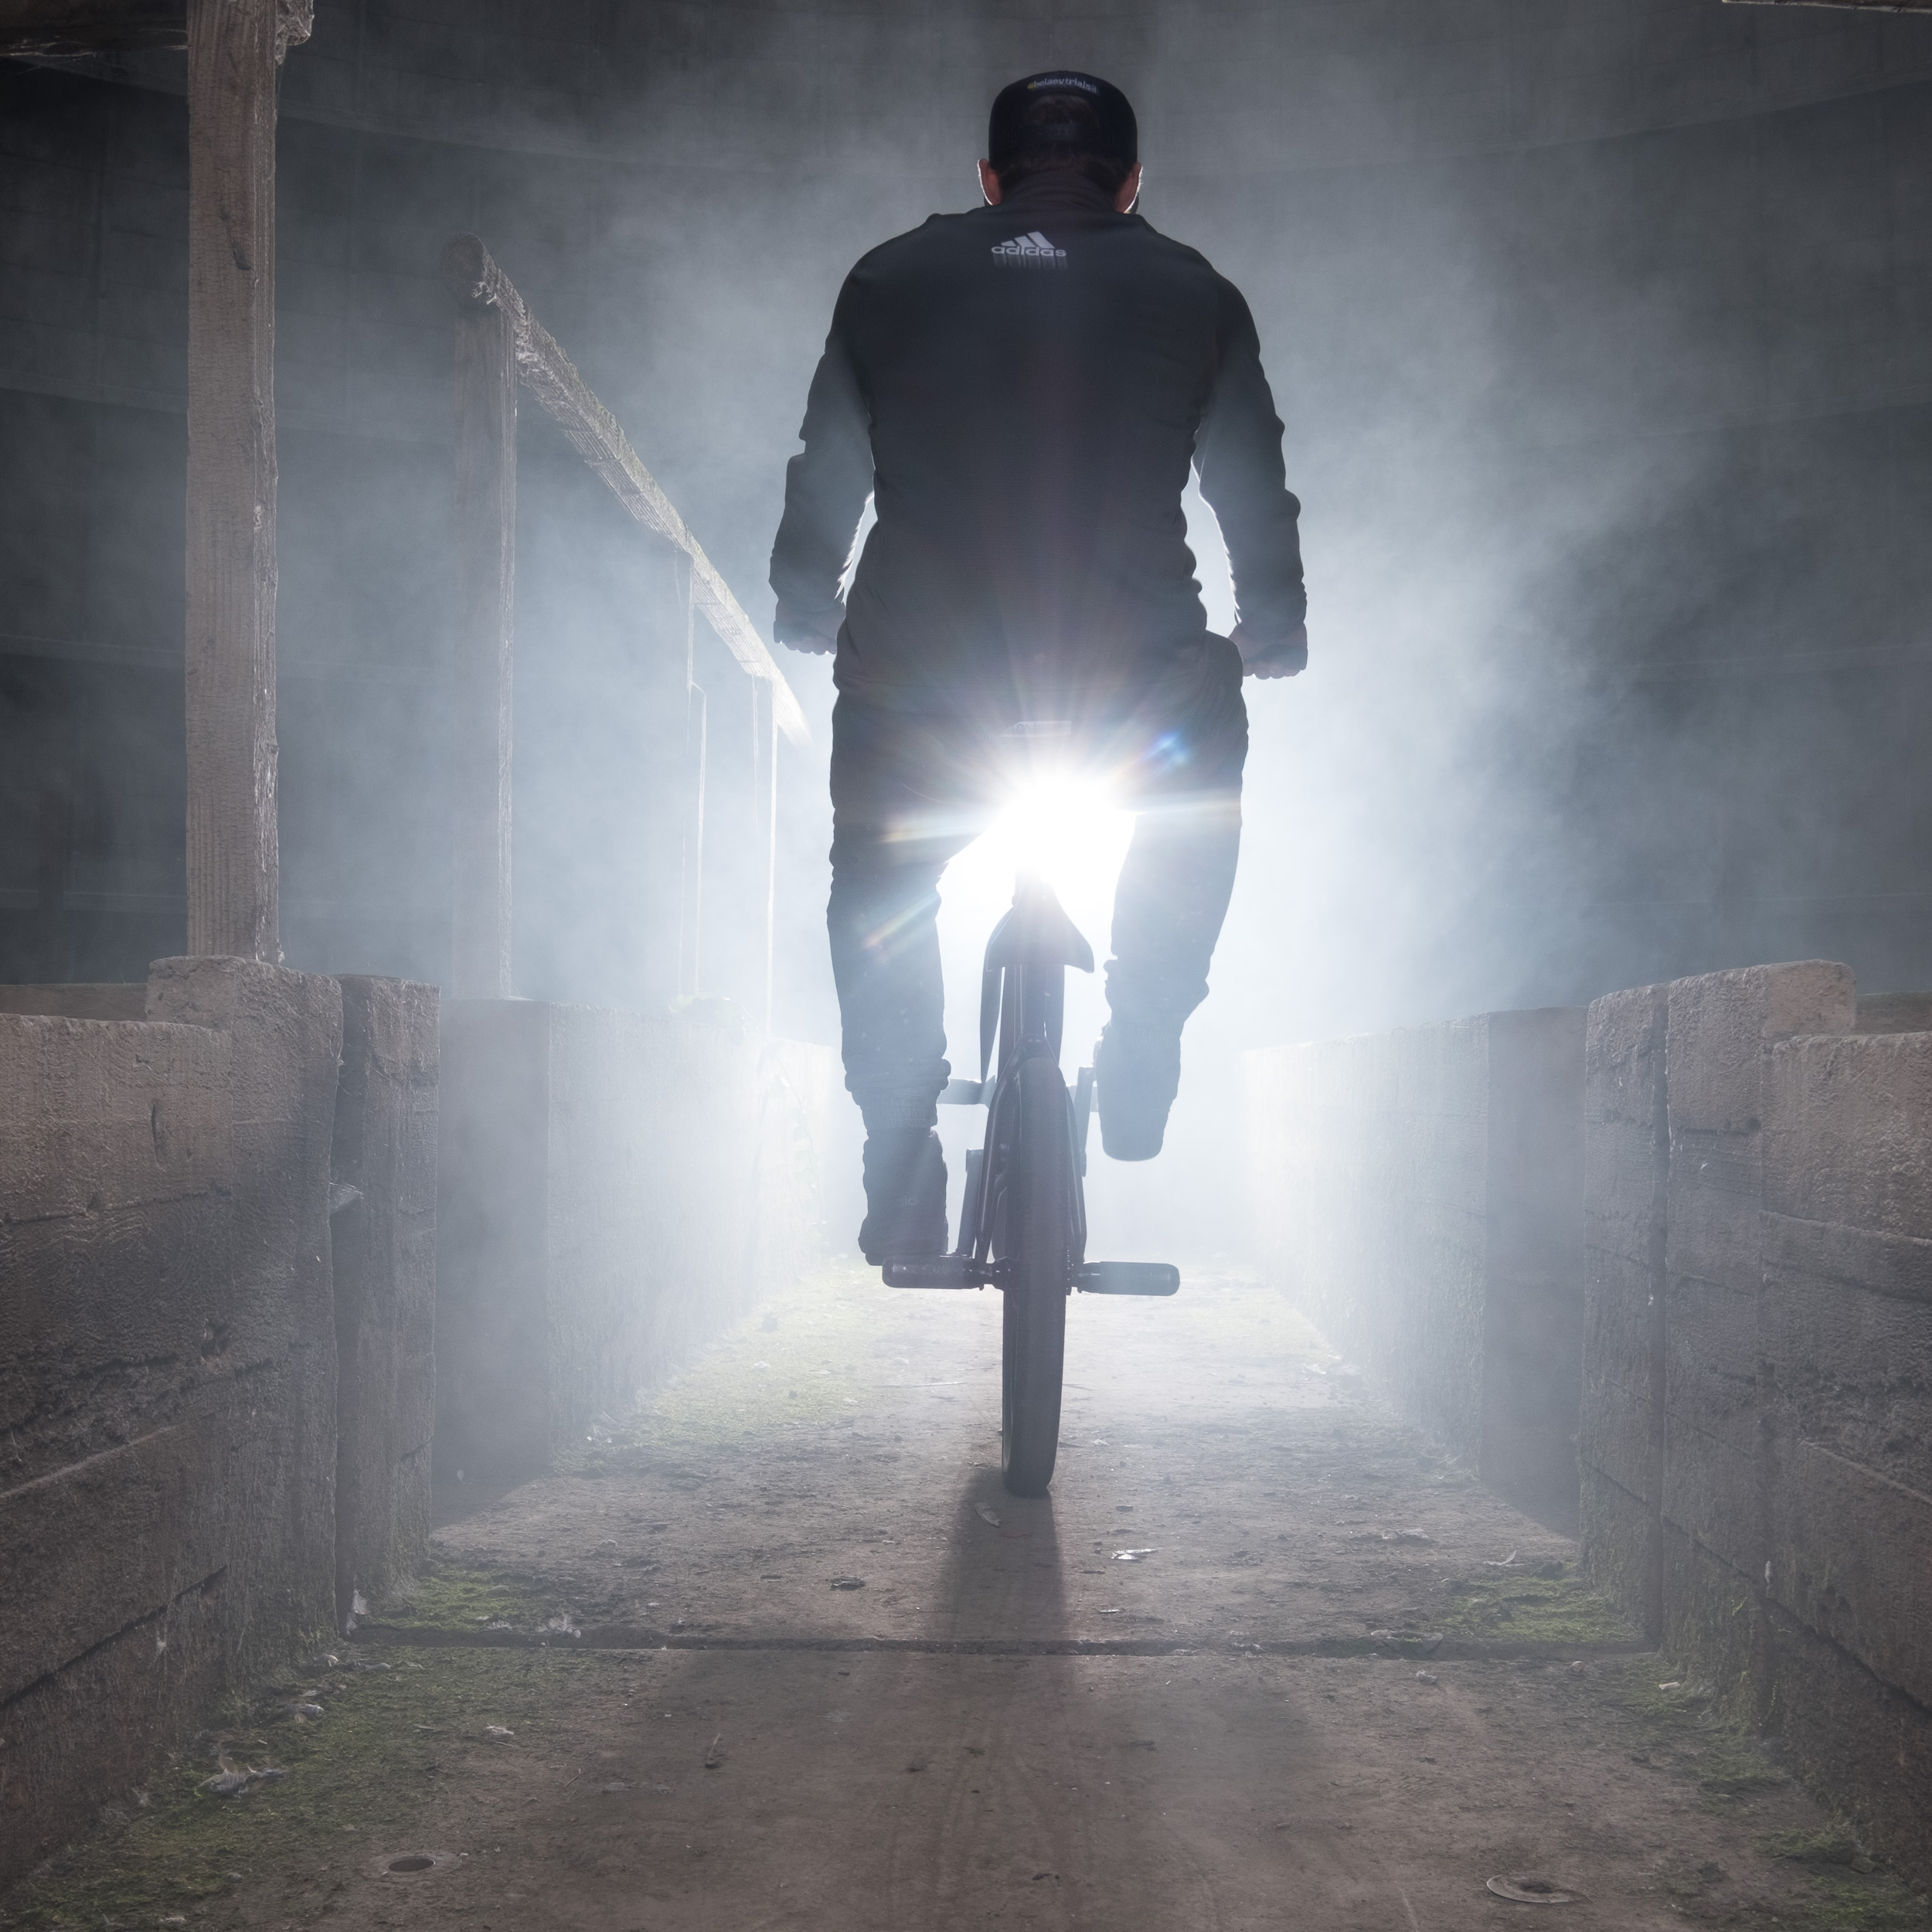
In this shoot of Barre, a BMX Flatland Rider (www.barrebmx.com) in an abandoned cooling tower, I started out in my comfort zone: two lights. For lack of sun, I used a second flash as a rim light. Both were Godox AD600 flashes. In this blog post, I explain why I am so fond of the Godox eco-system. This setup gave me a decent enough image. With that in my pocket, it was time to step out of the comfort zone.
FUJIFILM GFX 50S | GF32-64mmF4 R LM WR @ 32 mm | 1-60 sec. @ f - 8,0 | ISO 800 - Flashes used: 2 x Godox AD600

FUJIFILM GFX 50S | GF32-64mmF4 R LM WR @ 32 mm | 1-60 sec. @ f - 8,0 | ISO 800 - Flashes used: 2 x Godox AD600

I love backlight, I love smoke and I looooove backlit smoke! To that effect, I'll often lug around my Scotty II,  a portable, battery powered smoke machine. It's a totally different shot. Not better or worse, just different. But what matters is that it's a shot that I wouldn't have had if I had stayed in my comfort zone.

FUJIFILM X-T2 | XF18-55mmF2.8-4 R LM OIS @ 31.5 mm | 1-160 sec. bij f - 7,1 | ISO 200

FUJIFILM X-T2 | XF18-55mmF2.8-4 R LM OIS @ 31.5 mm | 1-160 sec. bij f - 7,1 | ISO 200

To using natural light only...

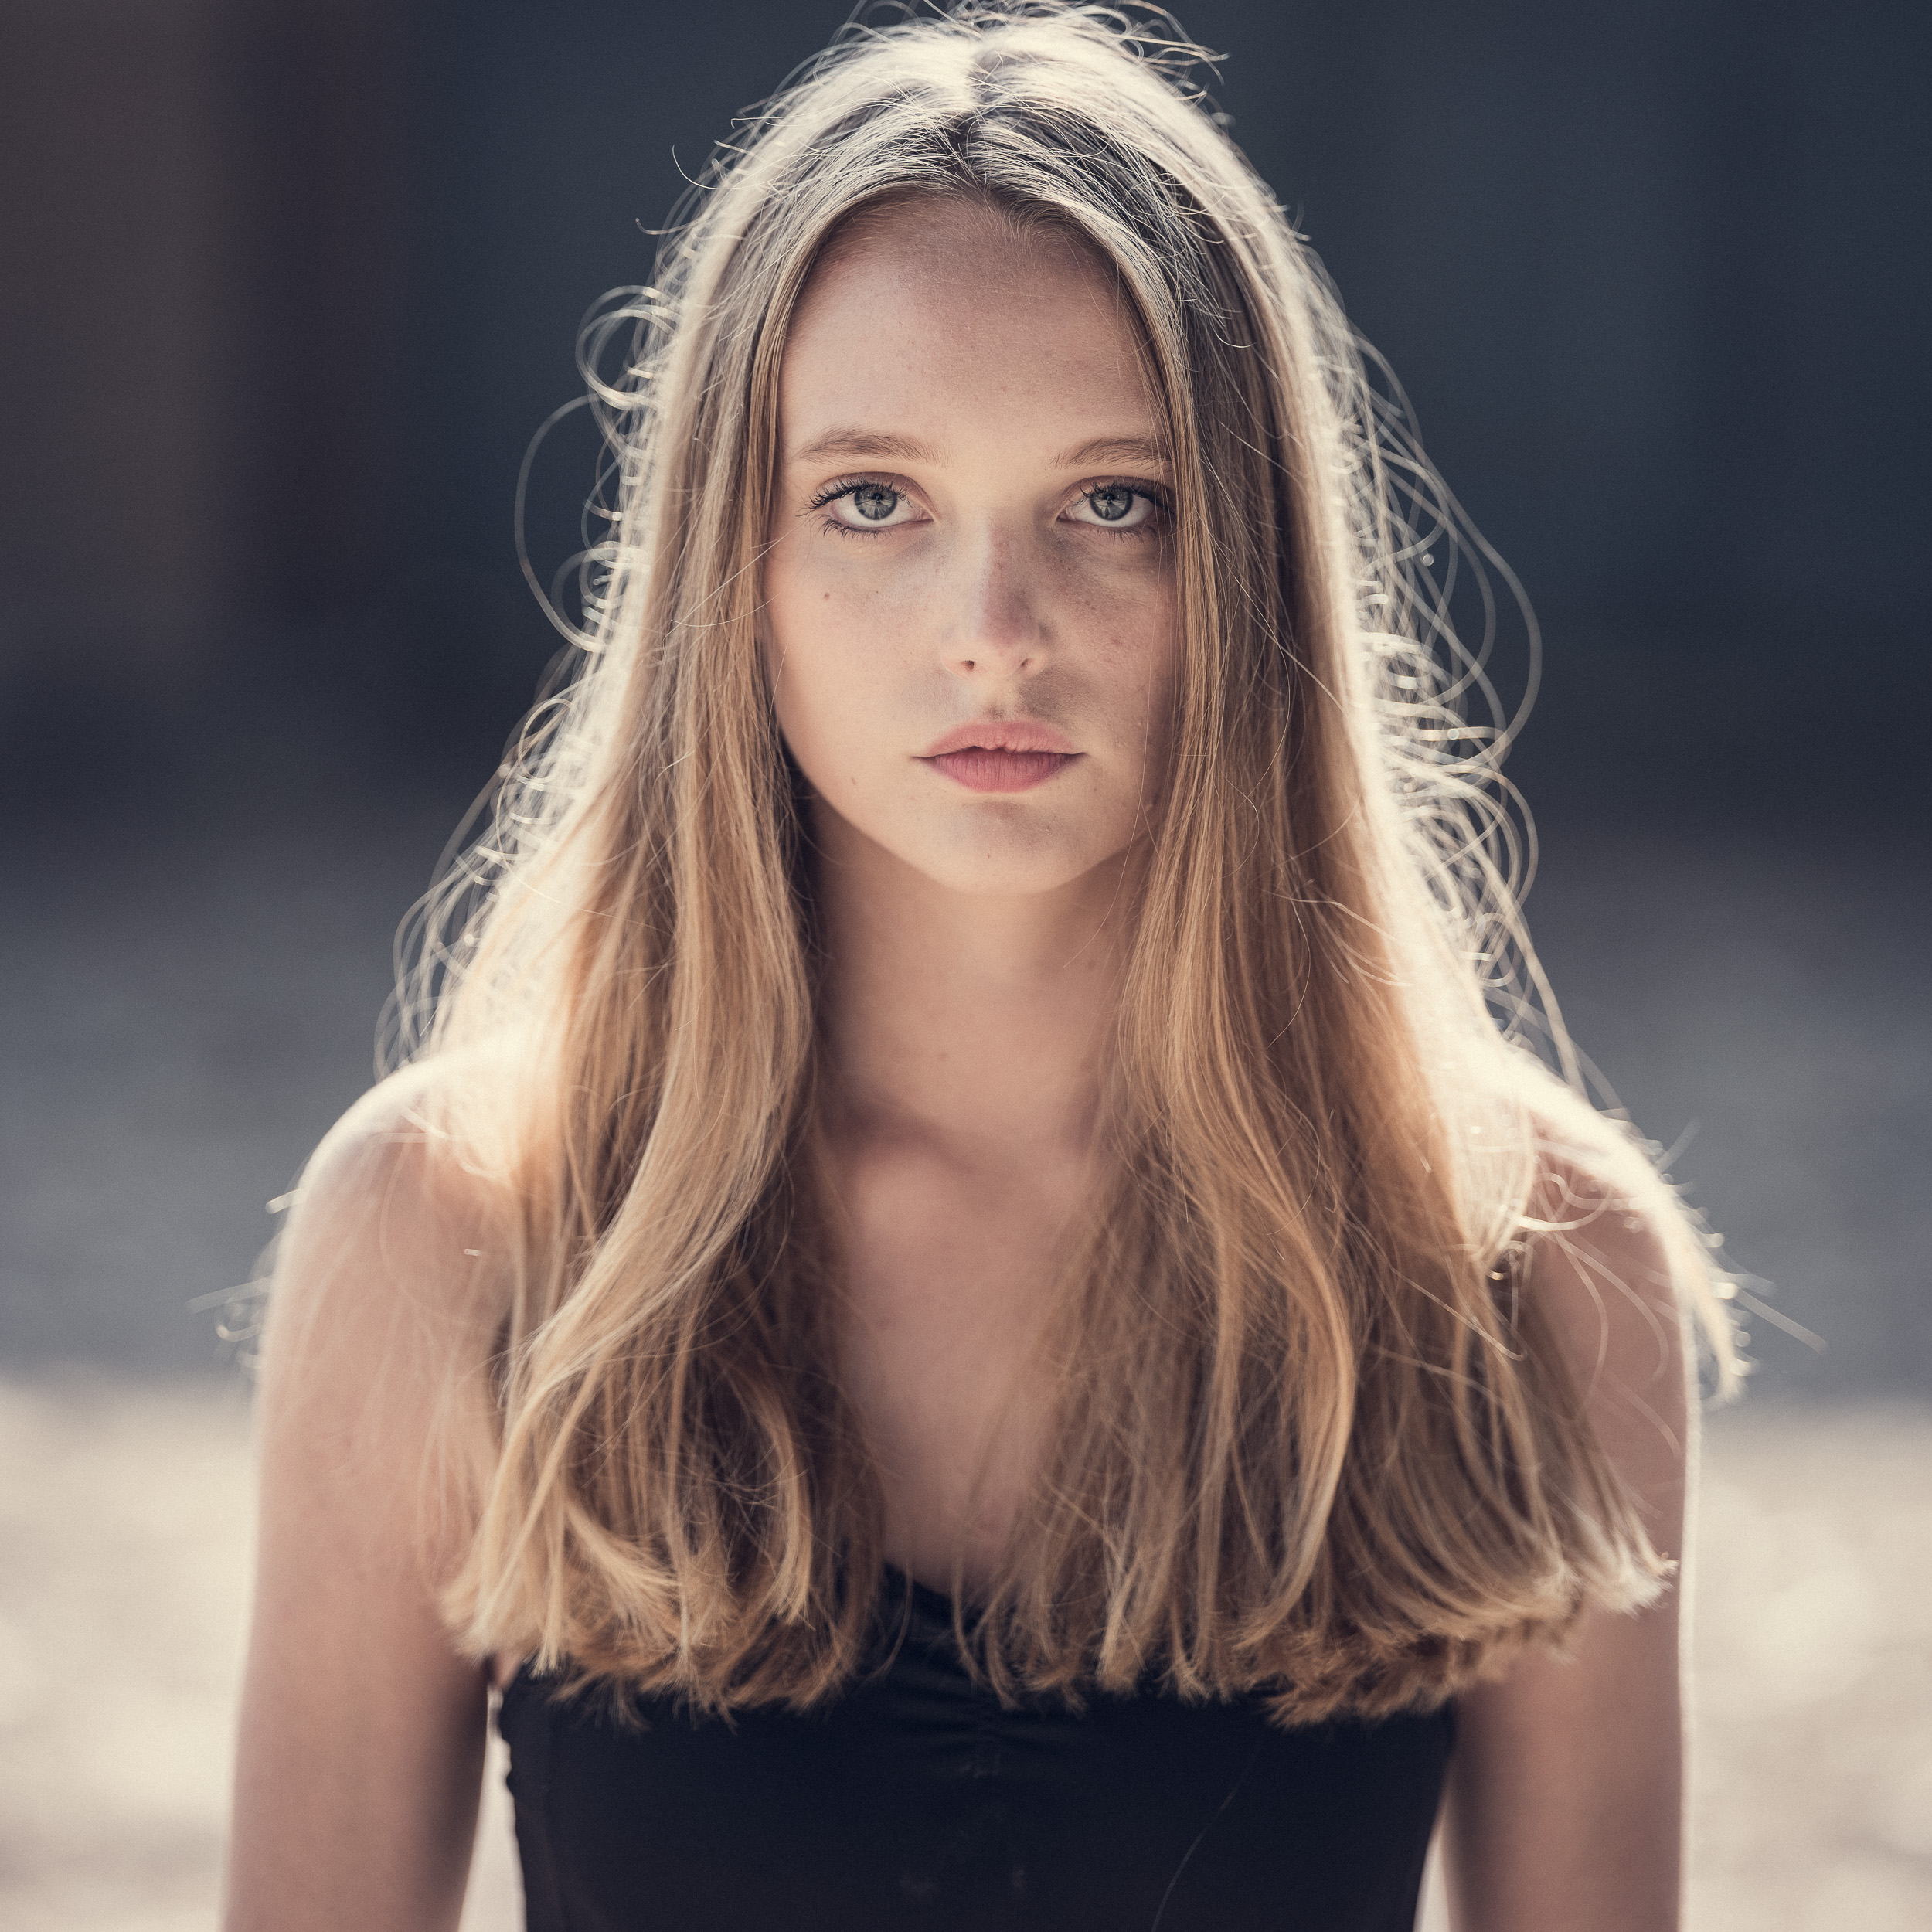
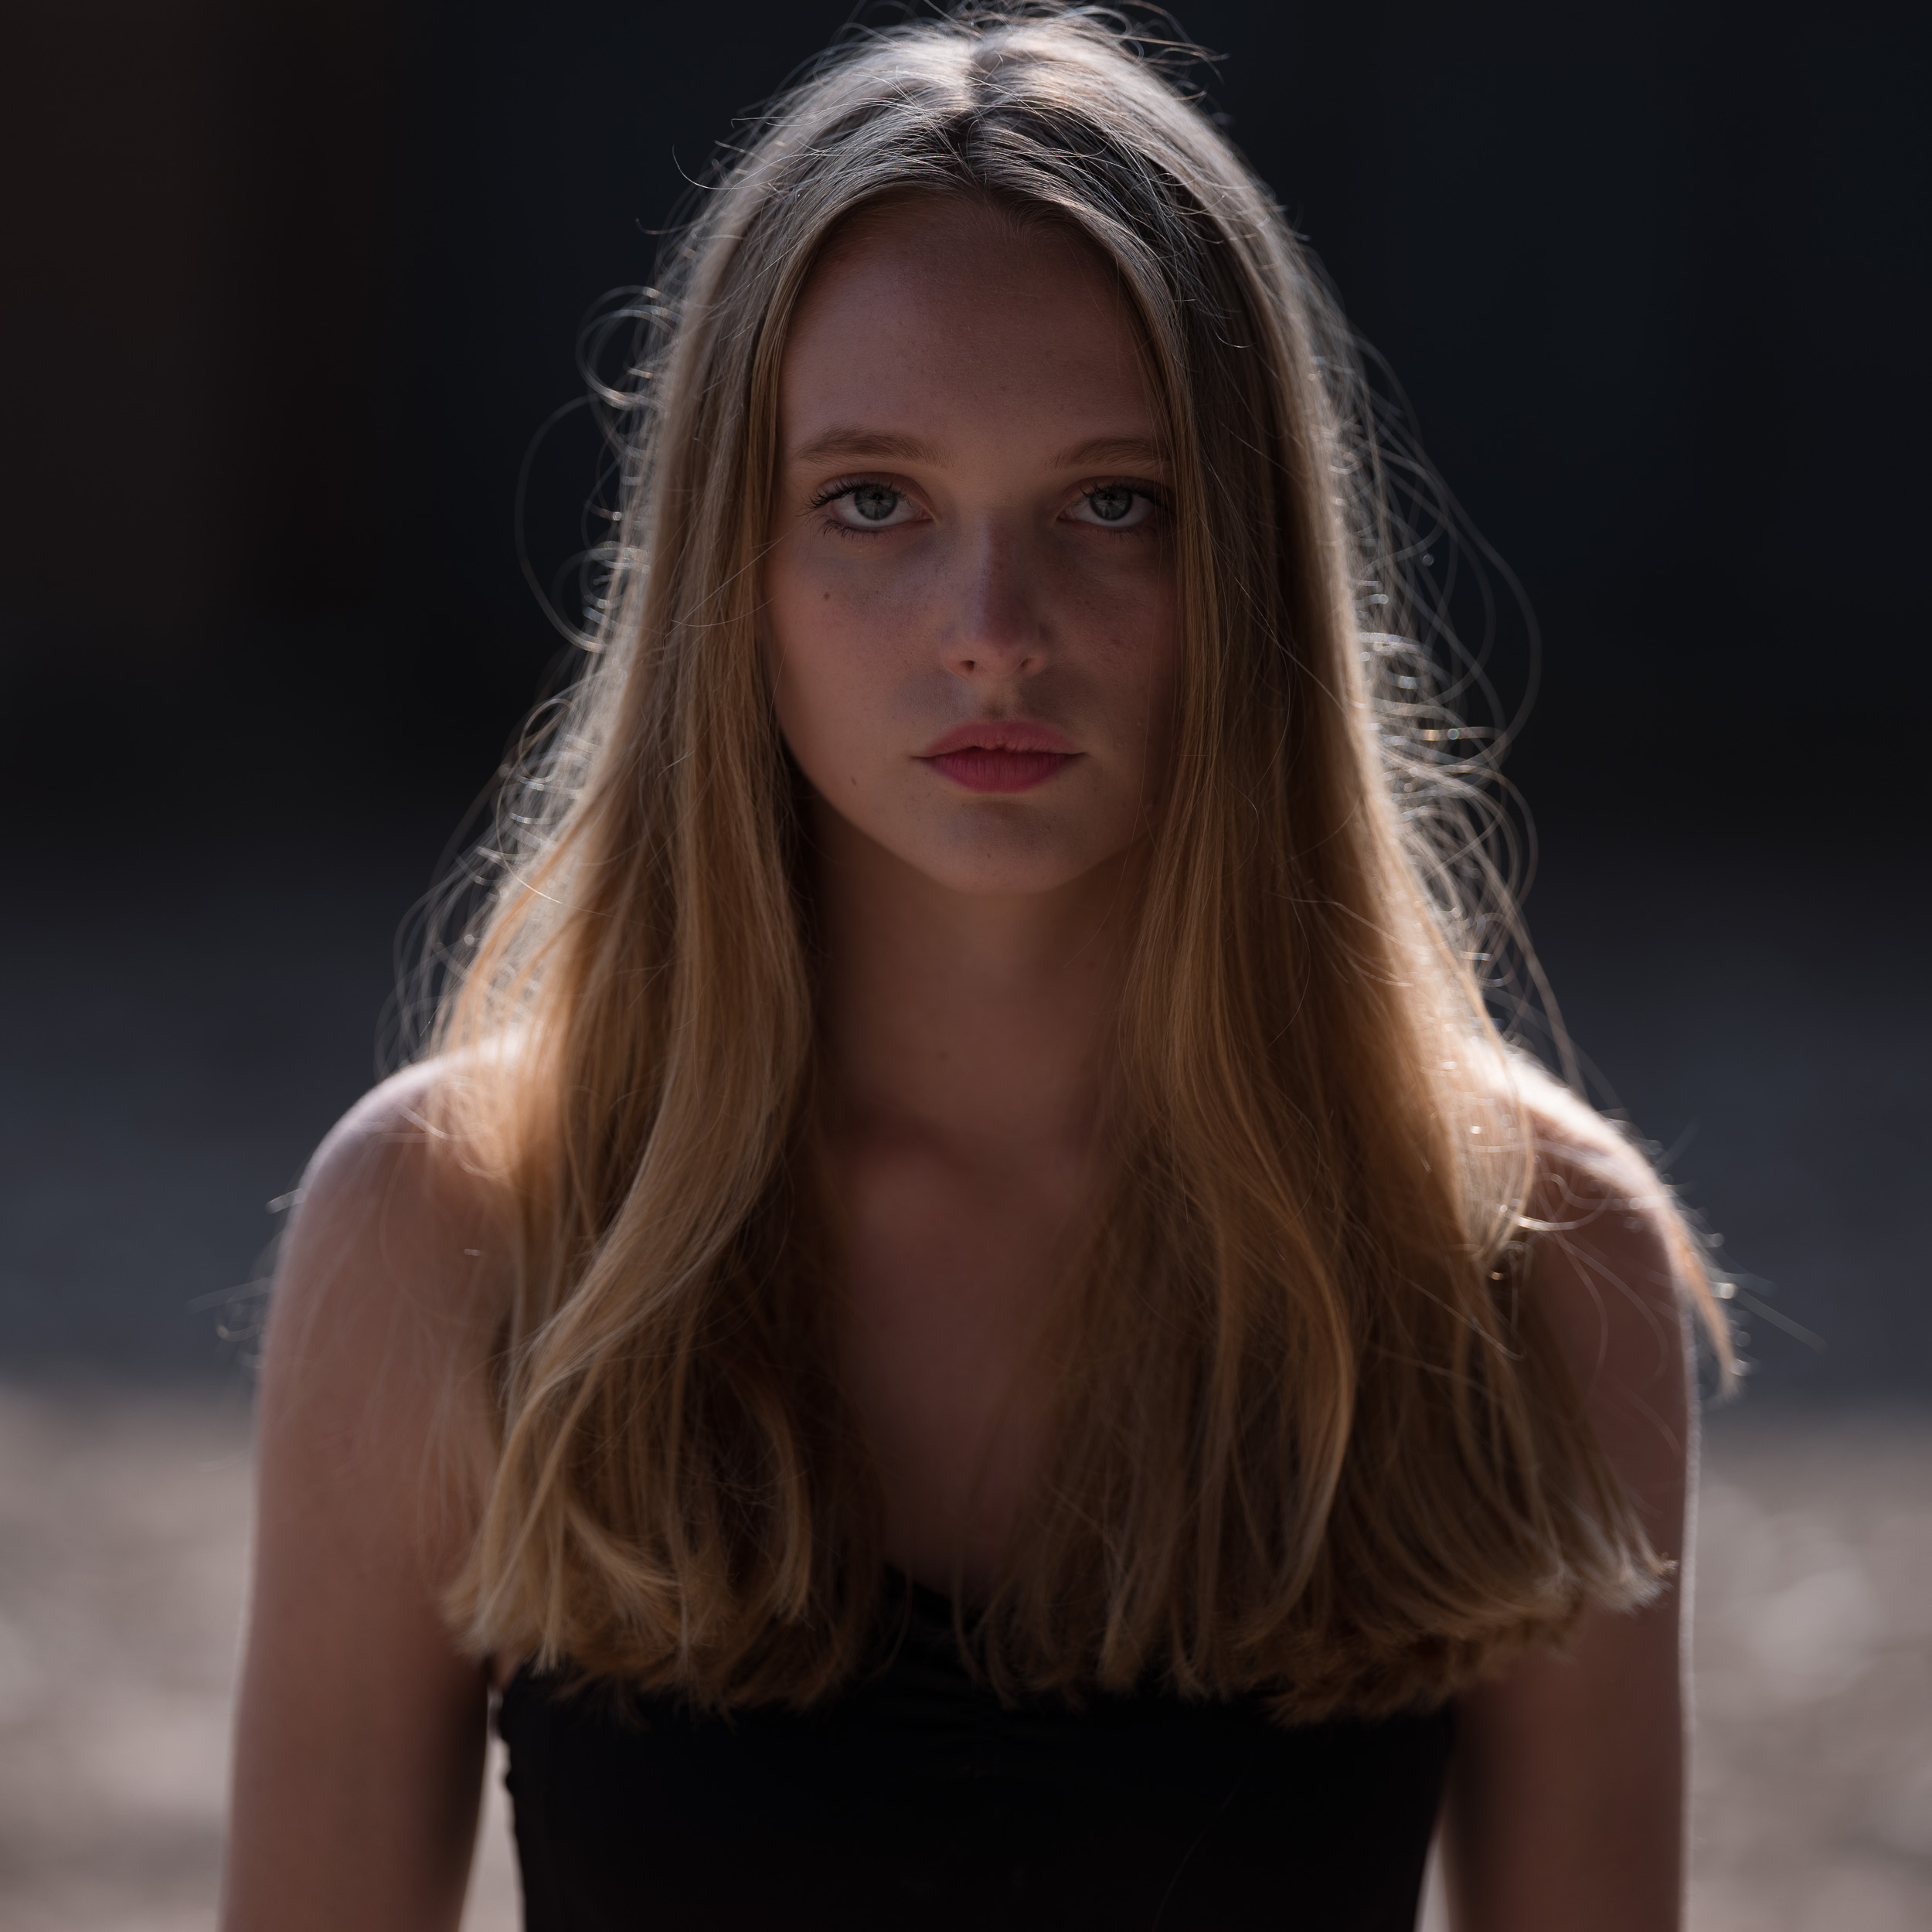
One way to get out of your comfort zone in a ... comfortable way, is to team up with a model and another photographer for a TFCD shoot. There's no stress to deliver, so you're free to do what you want and you can learn from the other photographer's handling of light. For this shoot, my buddy and fellow Fujifilm Ambassador Ioannis Tsouloulis (as far as names go, that's not a comfort zone!) and I got to work with Mila, a very talented young model who also happens to be a keen ballet danser. I did my usual wide-angle-big-softbox shot that you can see below.

FUJIFILM GFX 50S | GF23mmF4 R LM WR @ 23 mm | 1-500 sec. bij f - 8,0 | ISO 100-2

FUJIFILM GFX 50S | GF23mmF4 R LM WR @ 23 mm | 1-500 sec. bij f - 8,0 | ISO 100-2

And then Ioannis challenged me to work with natural light only, and a reflector. I hate using reflectors (that would be another blog post entirely) and I'm not a big fan of using typical portrait lenses either, but I got one of the best shots from the day by stepping out of my comfort zone.

It also helps to have a stunning model, obviously. Mila probably would still look great with an on-camera flash and a toy camera, I think...

FUJIFILM GFX 50S | GF110mmF2 R LM WR @ 110 mm | 1-500 sec. bij f - 2,0 | ISO 100.jpg

Postprocessing

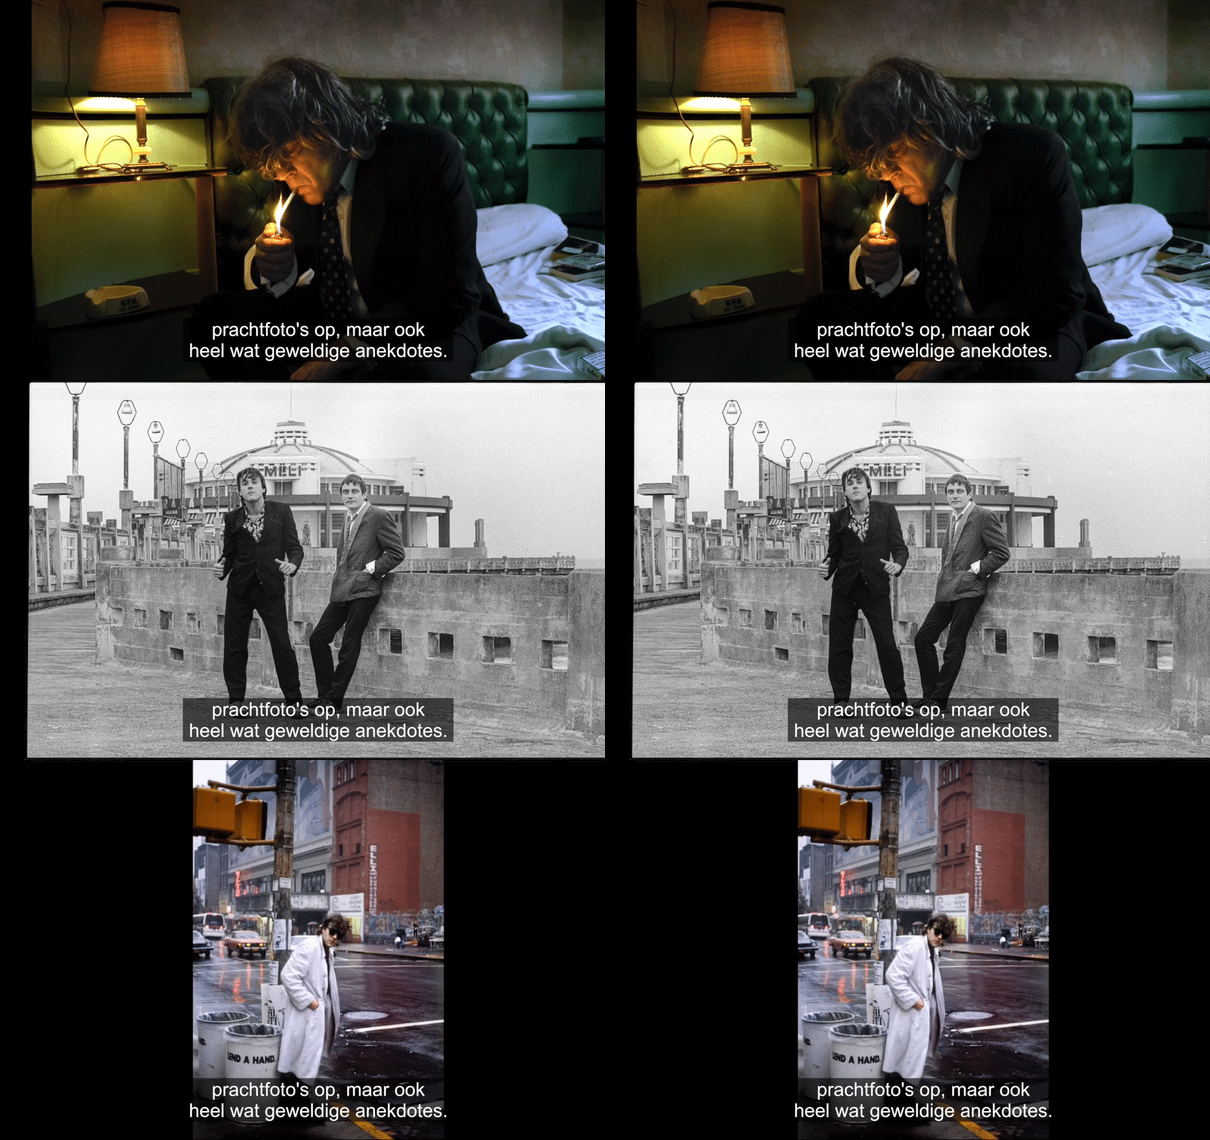
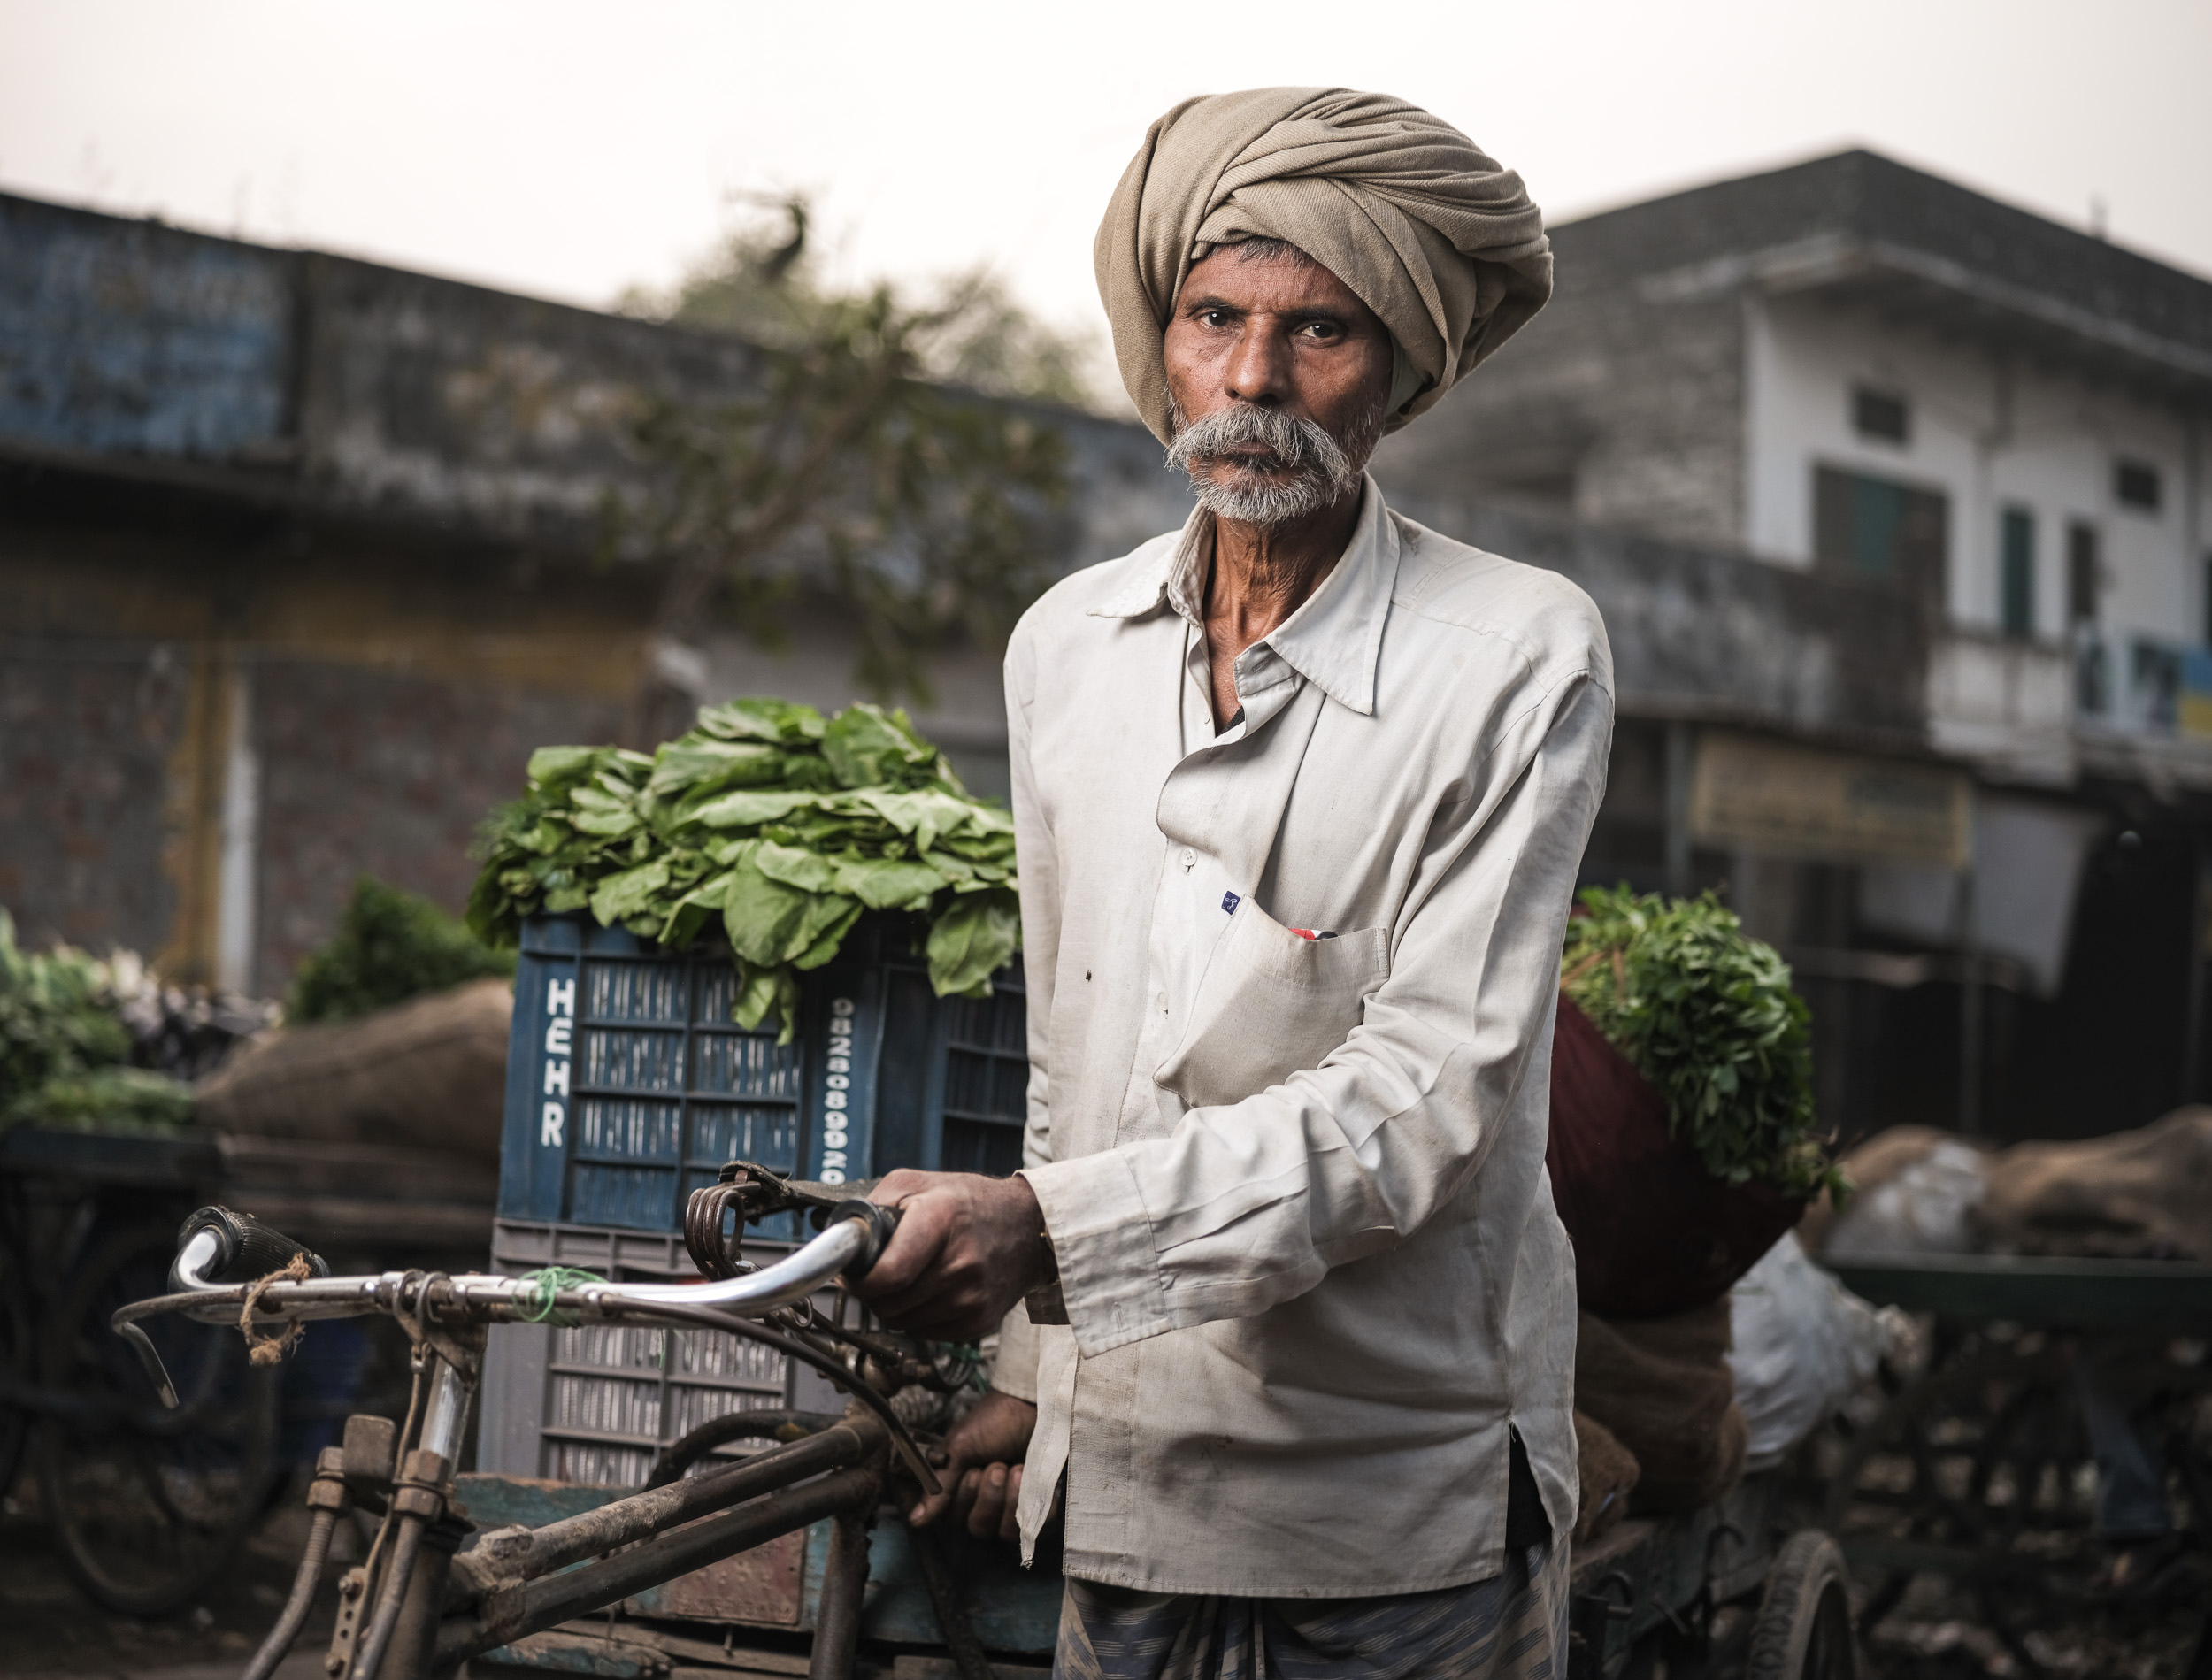
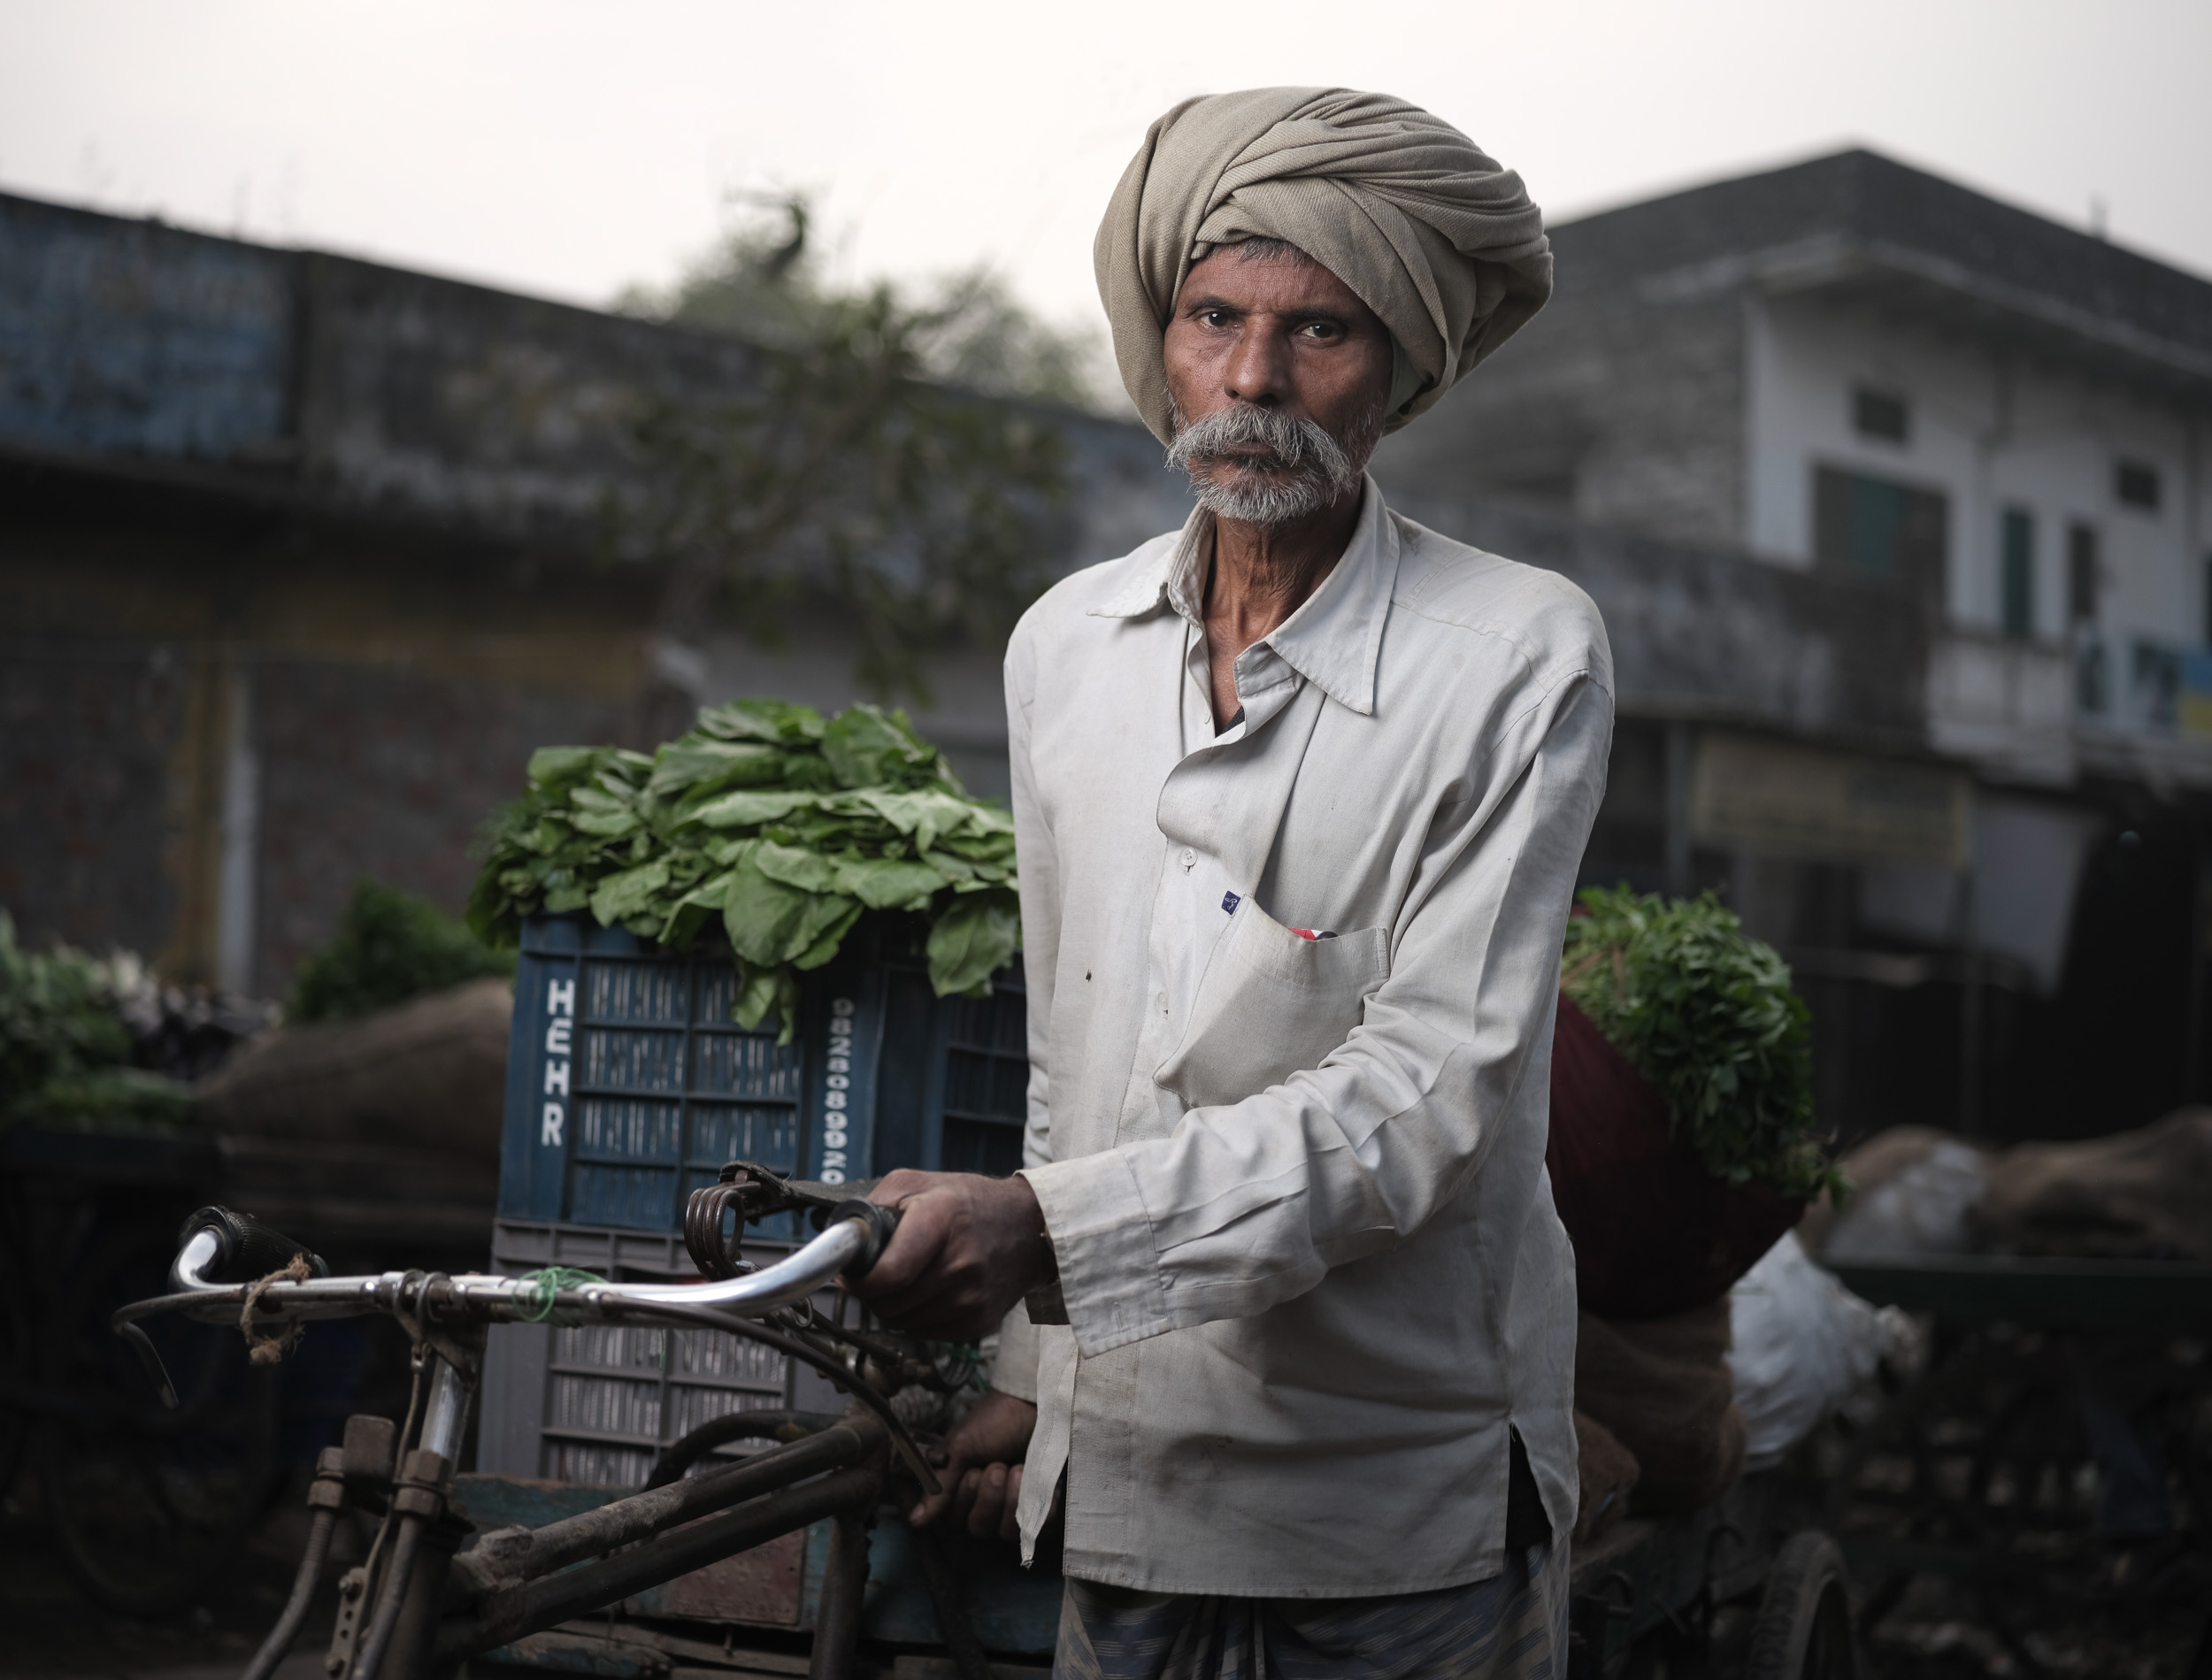
In case you're wondering, the images above don't come rolling out of the camera like this. At least not out of my camera. There's always some degree of styling and retouching going on. That's not a shame or a bad thing, on the contrary, it can be an equally important part of your style as the actual photography. I do try to get my images more or less right in terms of overall exposure and composition, but then comes the fun part: the postproduction. Unlike many photographers I know, I really love this phase. Especially since I've started shooting with the Fujifilm GFX. Man, those pixels can take a digital beating! Below are some before and after comparisons. My edits are mainly done in Lightroom, using one of my Lightroom preset packs.

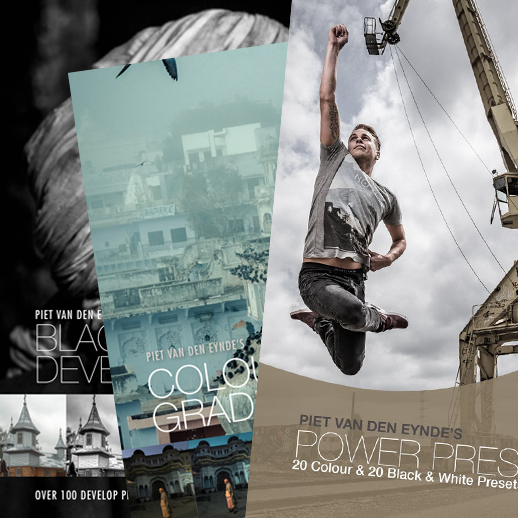
I just warmed up this image slightly and gave it a slightly more crispy look with a preset from 'Piet's Power Preset Pack, Vol. I'

I thought the dramatic light would go well with a more dramatic postprocessing that gave a gritty, urban feel to the image. This look was achieved by using one of my favorite presets (I've named it after my son, go figure!) Noah, which you can find in my Colorific Colour Grading bundle.

As Barre was already wearing black and there wasn't much colour in the background either, black and white was a logical choice to process this image. All it took was one click on one of my 'Piet Van den Eynde's Black and White Develop Presets for Lightroom'

I wanted the image to radiate with warmth, so I chose a warming preset from my Power Preset Pack and increased the Exposure some more.

What's new in Lightroom mobile 2.8 for iOS

Adobe have just released (yet) another update for Lightroom mobile! The headliner is the Adjustment Brush, or should I say: Adjustment Finger, as you can now use that to paint local adjustments directly on your iPhone or iPad. There's a couple of other cool new features in the camera as well. In this video, I walk you through all the novelties of this cool update.

Want to improve your Lightroom skills? Check out my English eBook Lightroom 6/CC Unmasked, my Dutch print book Lightroom 6/CC Ontmaskerd or my Dutch video lessons on www.photofactsacademy.nl.

New trailer for my Black & White presets

As you may know, I love Lightroom and I've written a number of books on it, both in Dutch and in English. One of the things I love most is the way presets can speed up your workflow in the Develop module. As I also love Black & White, I started to create Lightroom presets. At first, they were only intended for my personal use but as people seemed to like them, I have turned them into three preset packs.
For the first, 'Piet Van den Eynde's Black & White Develop Presets', I have just created a 90 second trailer that shows you a number of before and afters, all edited with just one click on one of the presets in that pack.
My Black & White preset pack is sold through my publisher Craft & Vision and is priced at only $20 (+ VAT in Europe). In addition to the 100+ presets, there's also a PDF manual and an accompanying video tutorial covering everything from installation to how to make the most out of them. You can also get the presets as part of my Lightroom presets bundle and save 25%.

No flash? No problem! Lightroom and the Fujifilm GFX.

At the Photo Days photographic trade show in Brussels this weekend, I had the honour of doing some GFX studio demos with two lovely and very talented models: Rosalinde Kikstra and Sooraj Subramaniam. I had a number of Godox flashes and modifiers set up and I'll post some images later of those results but the image that probably underlines the GFX's fantastic capabilities the most was one I made by accident: on one of the shots in a Black and White portrait series, I had misaligned the trigger so the flashes did not fire. All I got was a heavily underexposed ambient exposure shot.

FUJIFILM GFX 50S | GF120mmF4 R LM OIS WR Macro @ 120 mm | 1/125 sec @ f/5.6 | ISO 400

FUJIFILM GFX 50S | GF120mmF4 R LM OIS WR Macro @ 120 mm | 1/125 sec @ f/5.6 | ISO 400

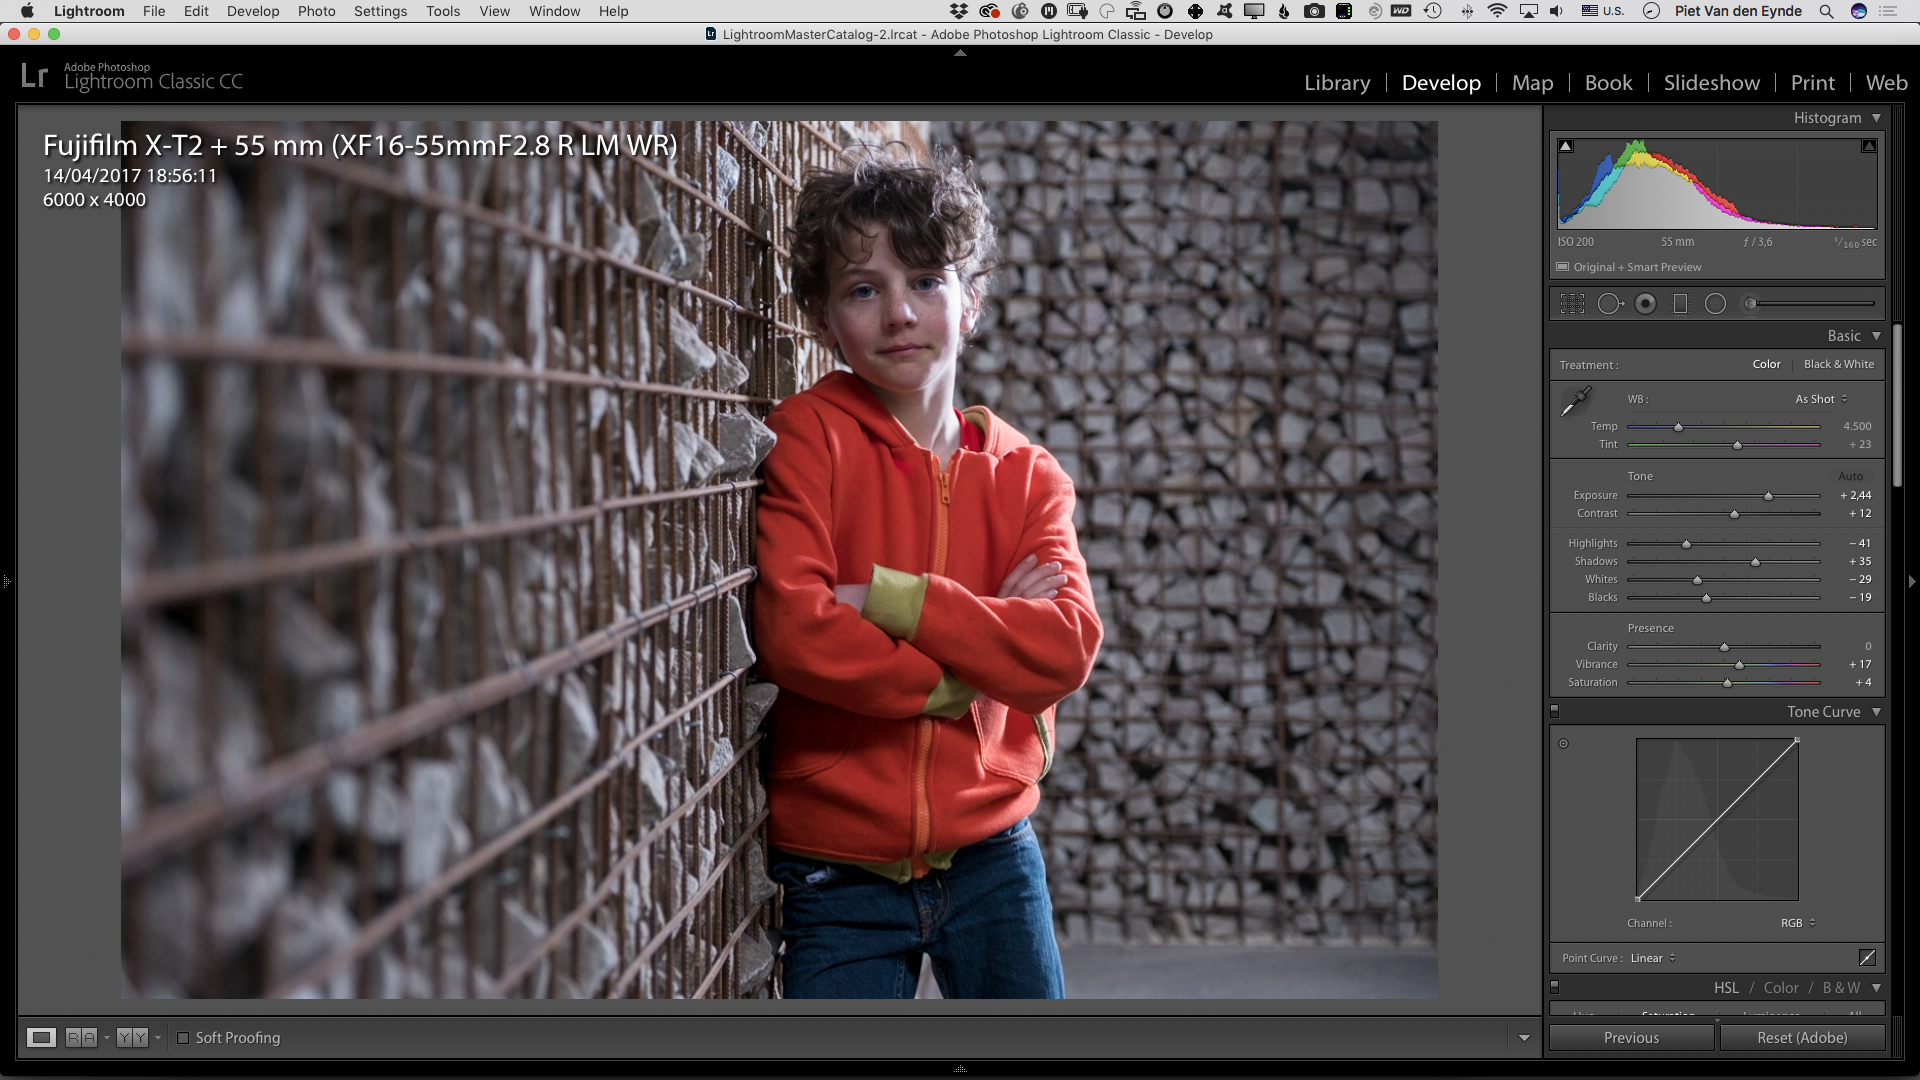
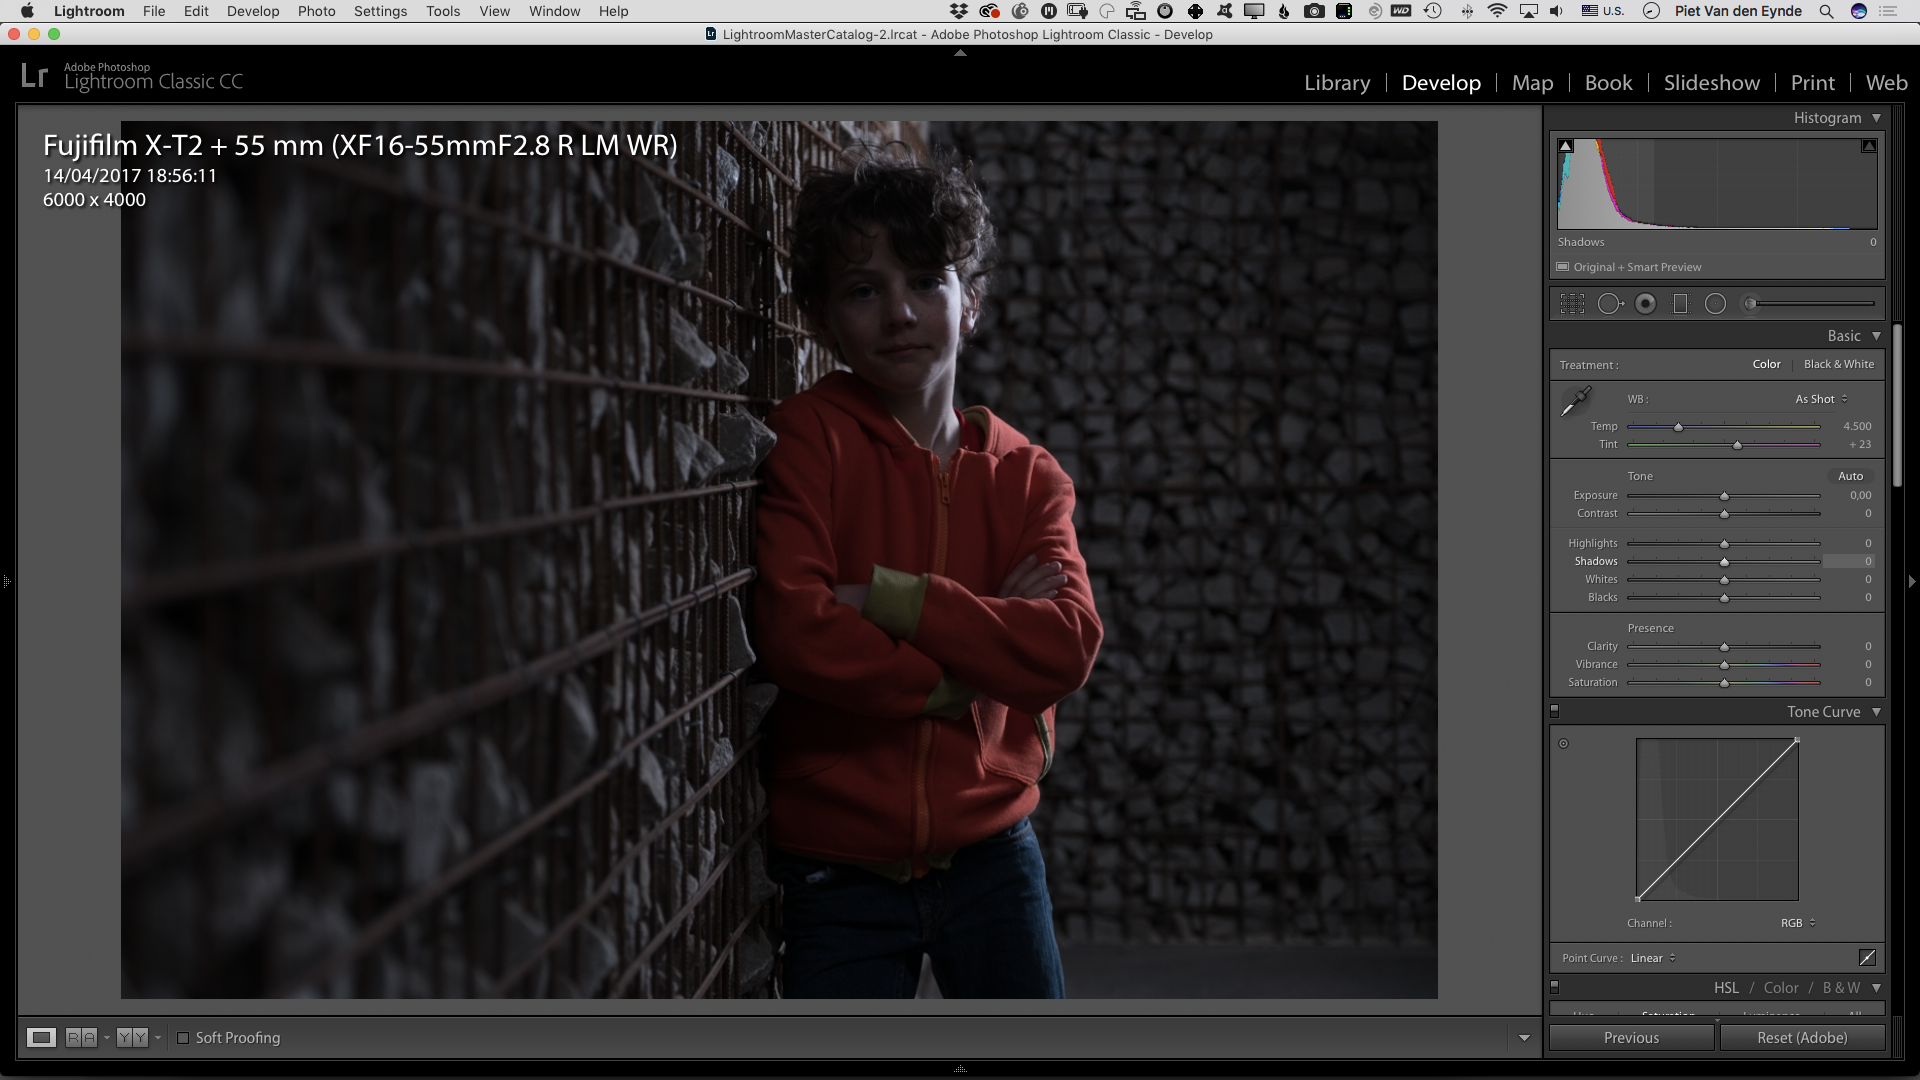
So, in front of a live audience, I said, jokingly... let's try and see what we can make out of this... I increased the Exposure slider by almost 5 stops (the maximum in Lightroom), dragged a couple of other sliders around and half a minute later got this result... 

FUJIFILM GFX 50S | GF120mmF4 R LM OIS WR Macro @ 120 mm | 1/125 sec @ f/5.6 | ISO 400

FUJIFILM GFX 50S | GF120mmF4 R LM OIS WR Macro @ 120 mm | 1/125 sec @ f/5.6 | ISO 400

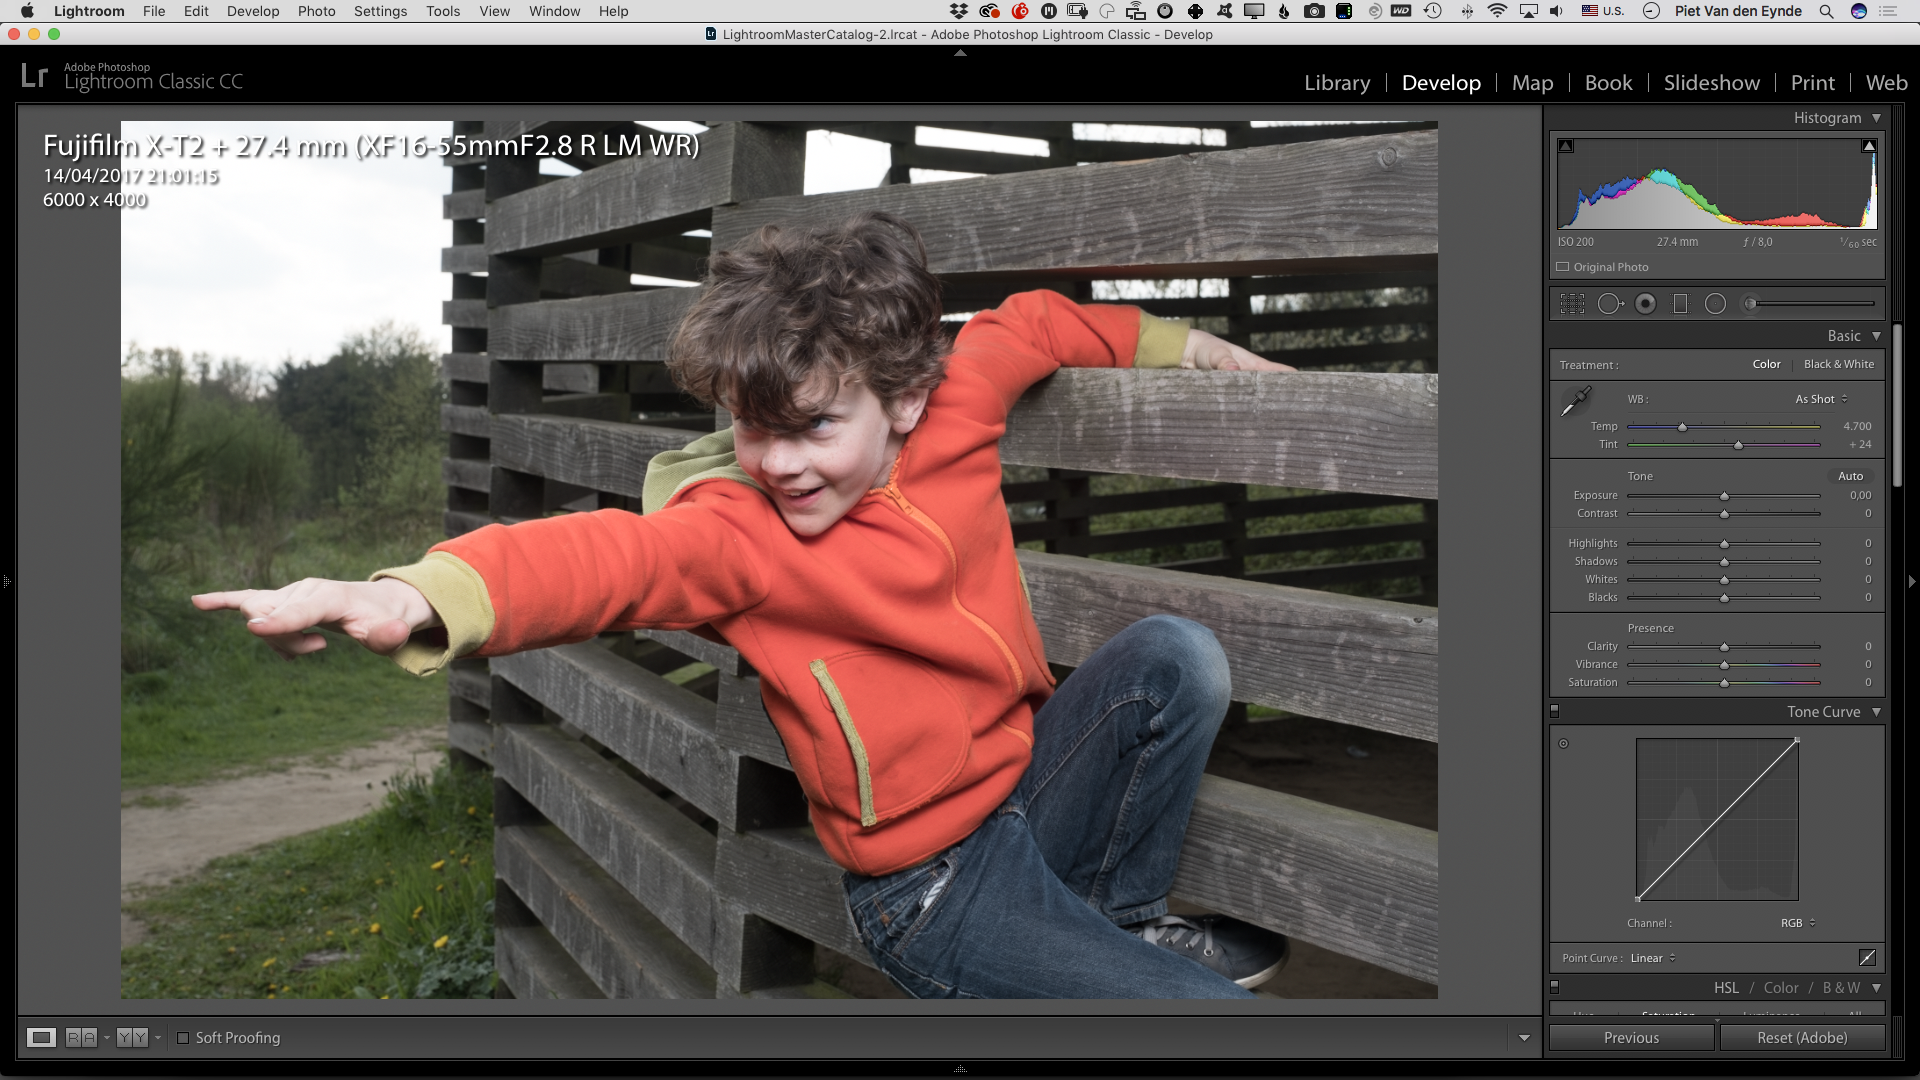
Here's the two of them side by side in the Lightroom interface.

And below is a 1:1 crop. I added 25 Luminance Noise Reduction in Lightroom and of course there is still some noise but considering the fact that my ISO wasn't even at the base of 100 but at 400, I think the result is nothing short of fantastic...

For me, the takeaway from this accidental experiment is that if Lightroom and the GFX can do this on a completely underexposed file, imagine what you can do with a halfway decent exposure. Just about anything, I guess...

Oh... and just for the sake of being complete... here's the actual image with the flashes firing :-)

FUJIFILM GFX 50S | GF120mmF4 R LM OIS WR Macro @ 120 mm | 1/125 sec @ f/5.6 | ISO 400

FUJIFILM GFX 50S | GF120mmF4 R LM OIS WR Macro @ 120 mm | 1/125 sec @ f/5.6 | ISO 400

Save 50 percent on my Lightroom presets until Nov. 19

Craft & Vision, the publisher of my Lightroom presets and my English video tutorials and eBooks on Photoshop and Lightroom are having a massive sale until November 19: everything in the store is 50 percent off! Even the bundle of my three preset packs, which by itself is already 25 percent off of individual prices, is another 50 percent off! At just over $20 + VAT, it's a steal.

Presets are the way to speed up your Lightroom workflow but they do more than that: they let you discover new looks for your images you might not have thought of yourself. Finally, they're a great teaching resource as you can verify each preset's settings to see how a particular effect is created!

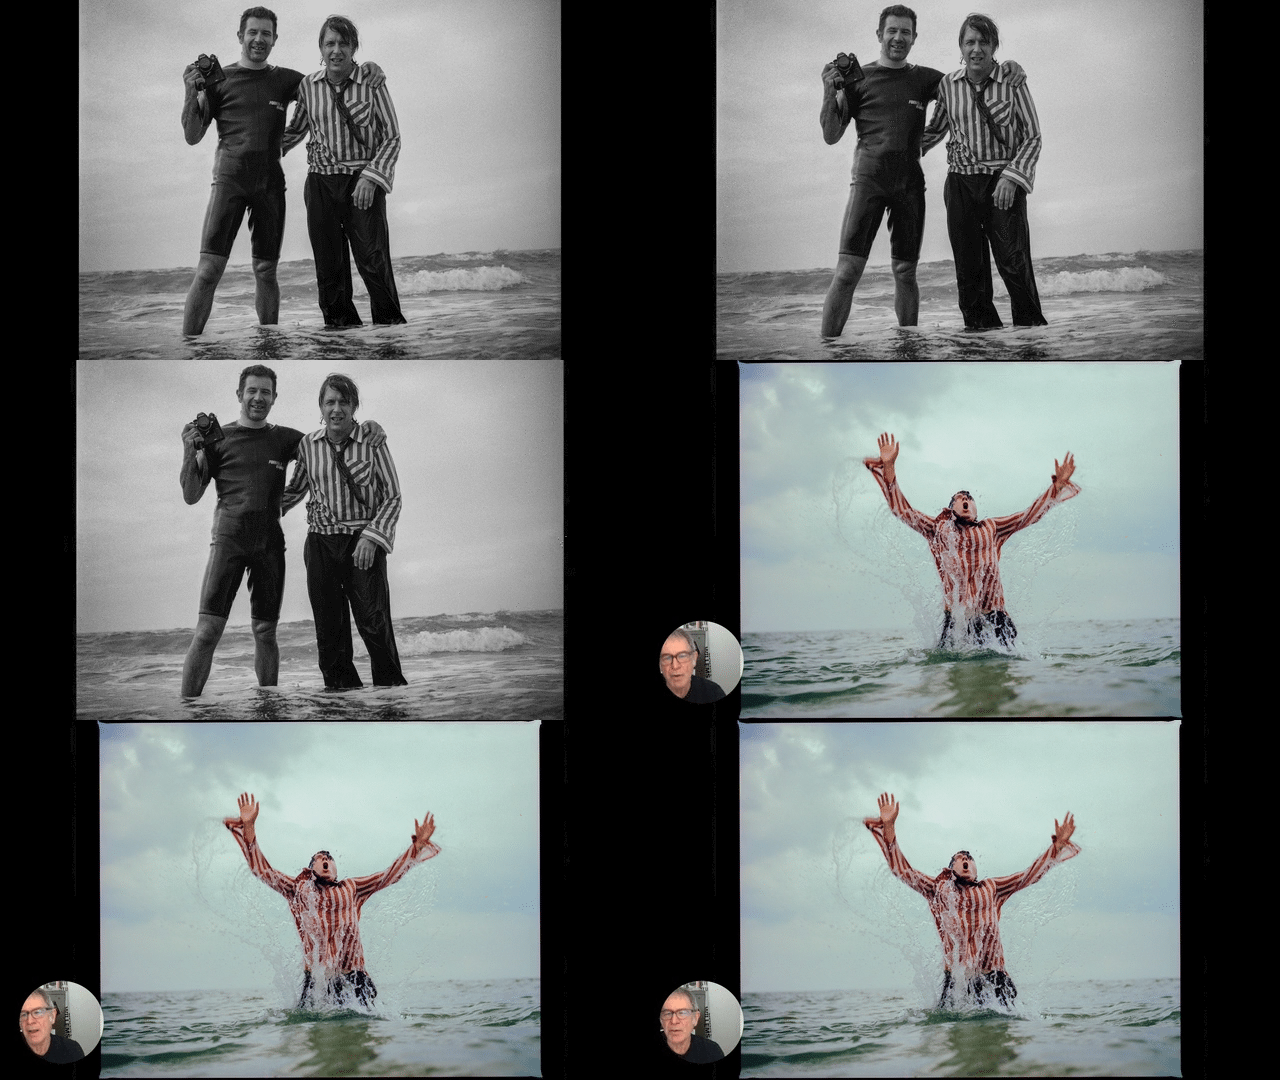
Below are before and after videos of two of my preset packs: Black & White and Piet's Power Preset Pack, Vol. 01. What separates the 'after' from the 'before' images is litterally just one click! 

Piet Van den Eynde's Black & White Lightroom presets samples

Piet's Power Preset Pack before and after samples

As mentioned, the best deal to get my presets is in an already discounted bundle that consists of all three of them. Until November 19th, you can get them at another 50 percent off. You'll pay less than $25 including VAT for the whole collection!